Virtual Desktop Support
- Kevin Metcalf
- Victor Baliguat
- Luis Barreto
Horizon View Client Installation
Windows Operating Systems
System Requirements
- At least 1 GB of RAM
- All X32 and x64 Windows Devices
- 800 MHz or faster processor
- Graphics card that supports Direct3D 11 Video
- Latest Video and graphic card drivers
- .NET Framework version 4.5 or later (The windows installer will download and install the latest version of .NET automatically if the client machine does not meet this prerequisite)
Windows Versions
| Operating System | Architecture | Service Pack or Servicing Option | Supported Editions |
|---|---|---|---|
| Windows 10 | 32-bit or 64-bit | Version 1809 SAC Version 1803 SAC Version 1809 LTSC Version 1607 LTSB | Home, Pro, Pro for Workstations, Enterprise, and Internet of Things(IoT) Enterprise |
| Windows 8 or 8.1 | 32-bit or 64-bit | Nore or Update 2 | Pro, Enterprise, Professional and Ultimate |
| Windows 7 | 32-bit or 64-bit | SP1 | Home, Enterprise, Professional, and Ultimate |
Installation Process
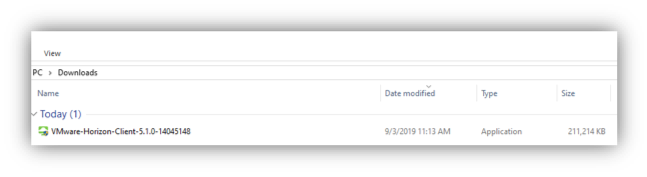
1. You will need to download the Windows installer from here.
2. After the installer is downloaded, double click on the installer file.
3. The User account control window will ask your permission to install the software. Click on Yes to continue.
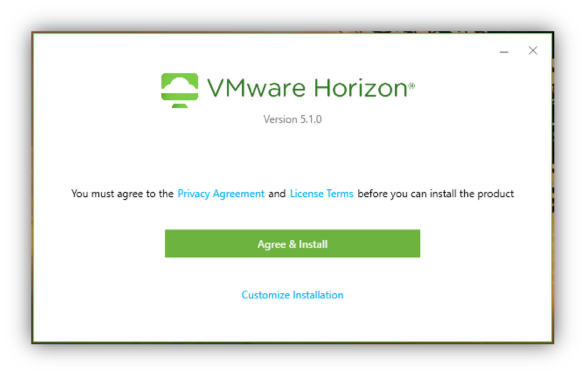
4. The privacy agreement and license window will open. Click on Agree and Install
5. After the installation process is completed, click on Restart now.

6. After restarting your computer, you will notice a new icon called VMware Horizon Client located on your desktop.

Configuring your Virtual Desktop connection in Windows
Once you have downloaded and installed the VMware Horizon View client, you will need to configure your connection to the Foothill College Virtual Desktop infrastructure.
1. Open The Horizon View Client application by double-clicking on the icon located on your desktop.
2. On the main screen, Double click on the Add Server icon.

3. The system will ask you to provide a server name. The following are the available connection servers:
a. Foothill College: mydesktop.foothill.edu
b. De-Anza College: mydesktop.deanza.edu
c. Sunnyvale Campus: mydesktopsunnyvale.foothill.edu
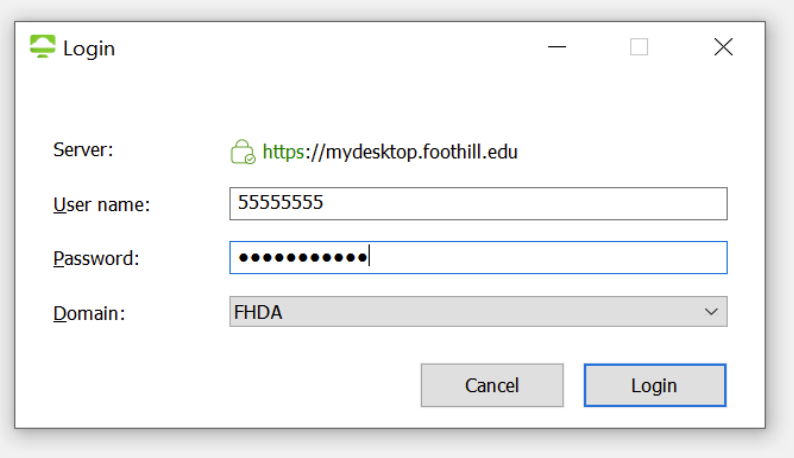
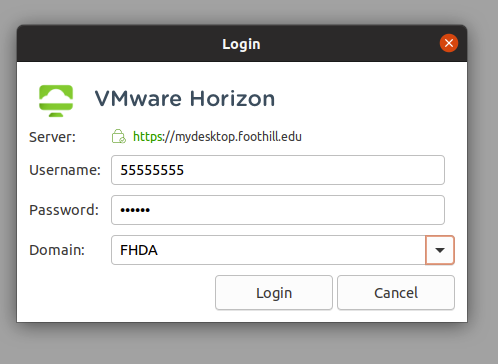
4. You are done configuring your connection. Now to start your connection, double click on the Connect button. The system will ask you for your Foothill De-Anza user credentials. In this case, you need to use the same credentials you use to login to myportal.fhda.edu.
a. User Name: Campus Wide ID
b. Password: myportal password
c. Domain: FHDA
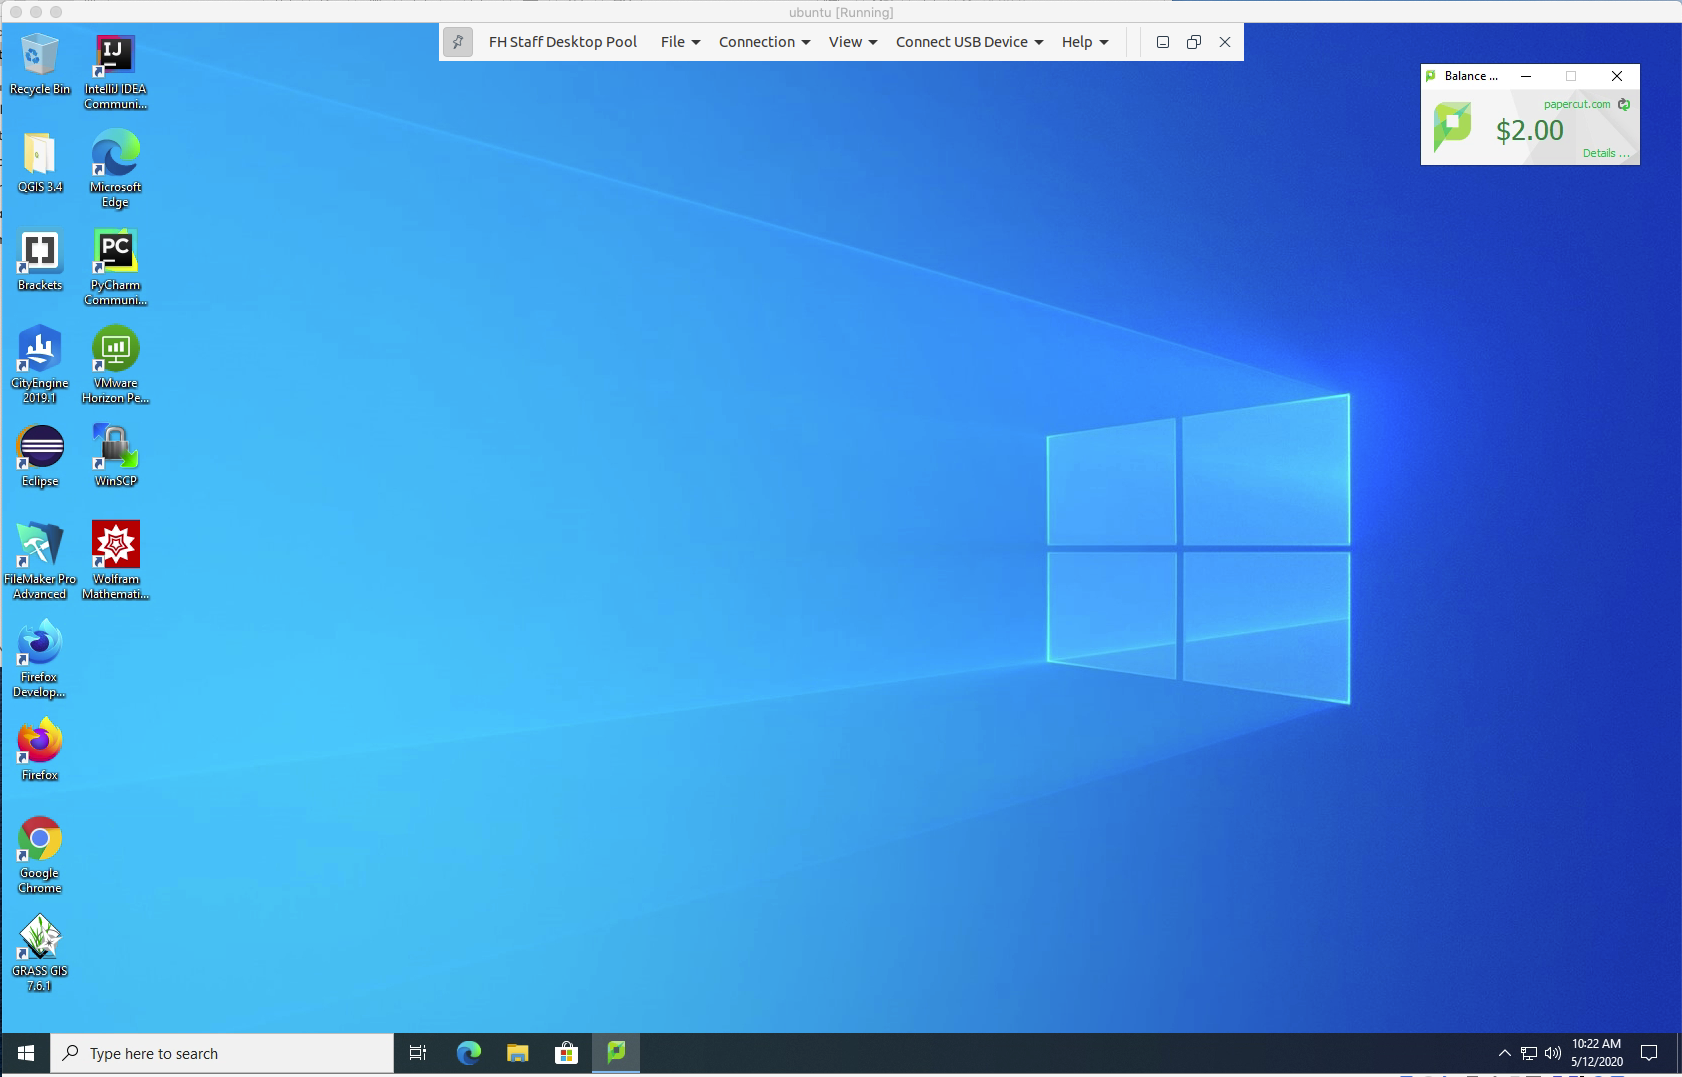
5. Once you are connected to our system. You will be presented with the desktop pool available for you. Please note that this screen could be different depending on the users. Staff and Faculty will see the Staff Pool and students will only see the Open Lab desktop pool.
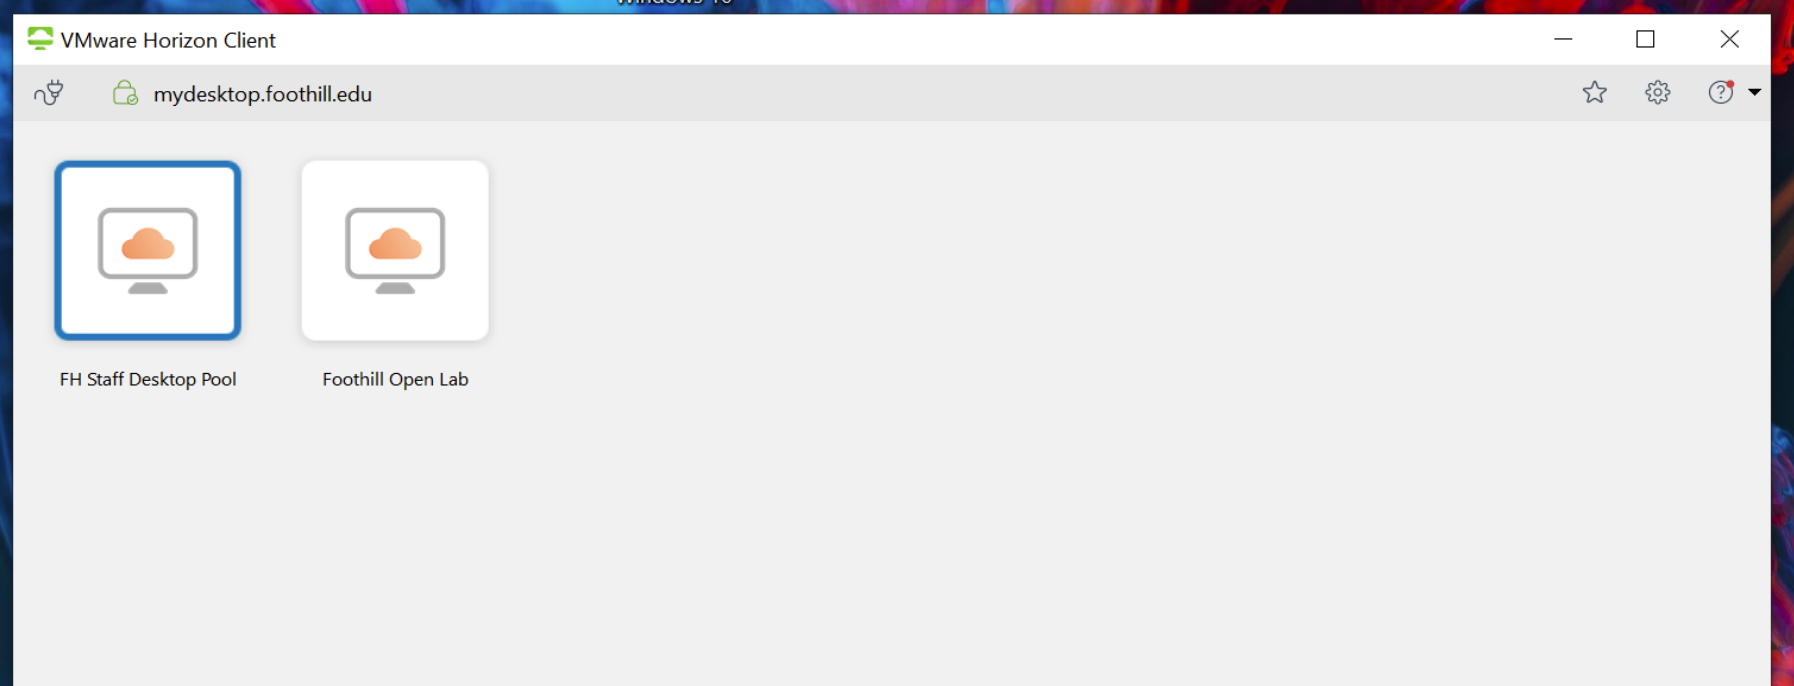
6. Double click on the desktop pool you want to connect. A Virtual machine will be provisioned for you yo use.

OS X Operating Systems
OS X Versions compatibility matrix
| OS X Versions | Horizon View Client Version | Download Link |
|---|---|---|
Mavericks (10.9) | 4.4 | Download |
| Yosemite (10.10) | 4.6 | |
| El Capitan (10.11) | 4.9 | Download |
| Sierra (10.12) | 5.2.1 | Download |
| High Sierra (10.13) | 5.4.2 | Download |
| Mojave (10.14) | 5.4.2 | Download |
| Catalina (10.15) | 5.4.2 | Download |
Monterey (12) Ventura (13.2) Sonoma (14.3) | 2203.1 2209 2312 |
Installation Process
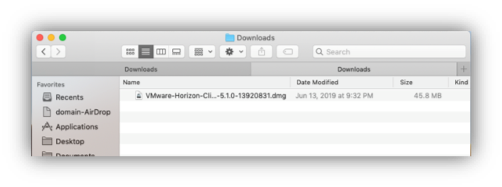
1. After downloading the installer, double click to execute the installation.
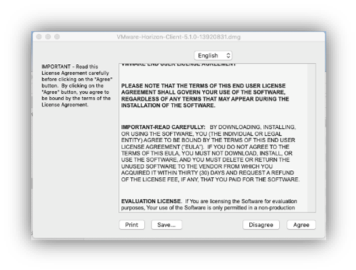
2. Agree to the terms and license agreement conditions by clicking Agree.
3. Move the VMware Horizon Client App to the Applications folder
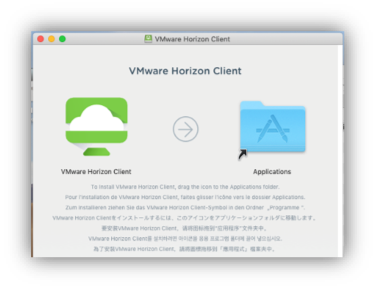
4. This completed the installation. Now you can go to the Applications folder and double click on the Horizon View Client icon.
Configuring your Virtual Desktop Connection in OS X
Once you have downloaded and installed the Horizon View Client on your system. You will need to configure your connection server.
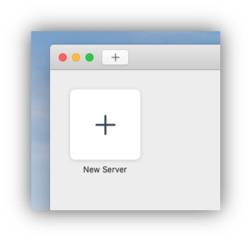
1. Double click on the Horizon View Client to start the application.
2. In the main windows double click on the New server icon.
3. The system will ask you to provide a server name. The following are the available connection servers:
a. Foothill College: mydesktop.foothill.edu
b. De-Anza College: mydesktop.deanza.edu
c. Sunnyvale Campus: mydesktopsunnyvale.foothill.edu
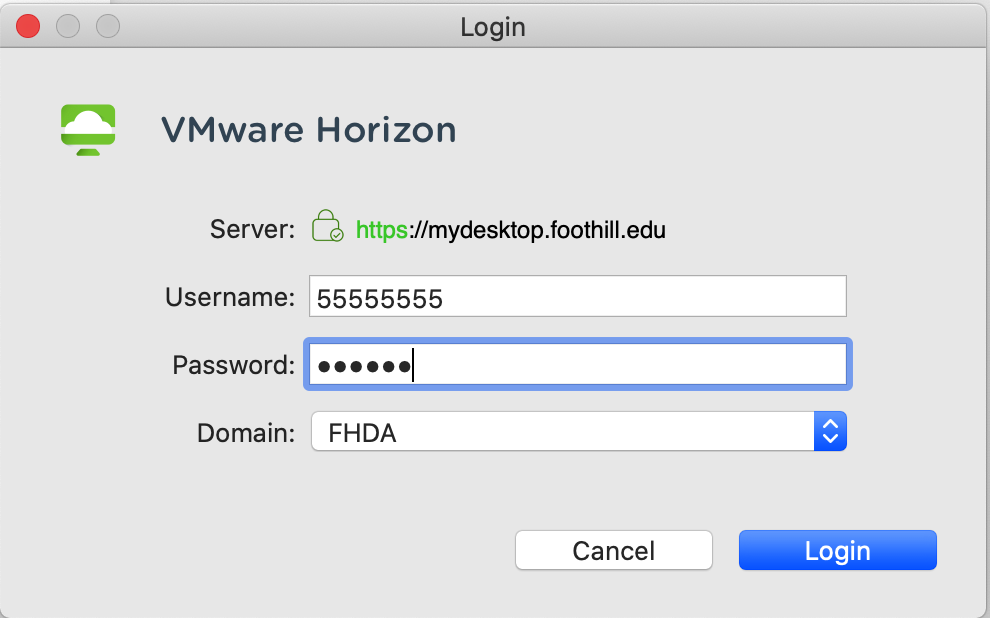
4. You are done configuring your connection. Now to start your connection, double click on the Connect button. The system will ask you for your Foothill De-Anza user credentials. In this case, you need to use the same credentials you use to login to myportal.fhda.edu.
a. User Name: Campus Wide ID
b. Password: myportal password
c. Domain: FHDA
5. Once you are connected to our system. You will be presented with the desktop pool available for you. Please note that this screen could be different depending on the users. Staff and Faculty will see the Staff Pool and students will only see the Open Lab desktop pool.
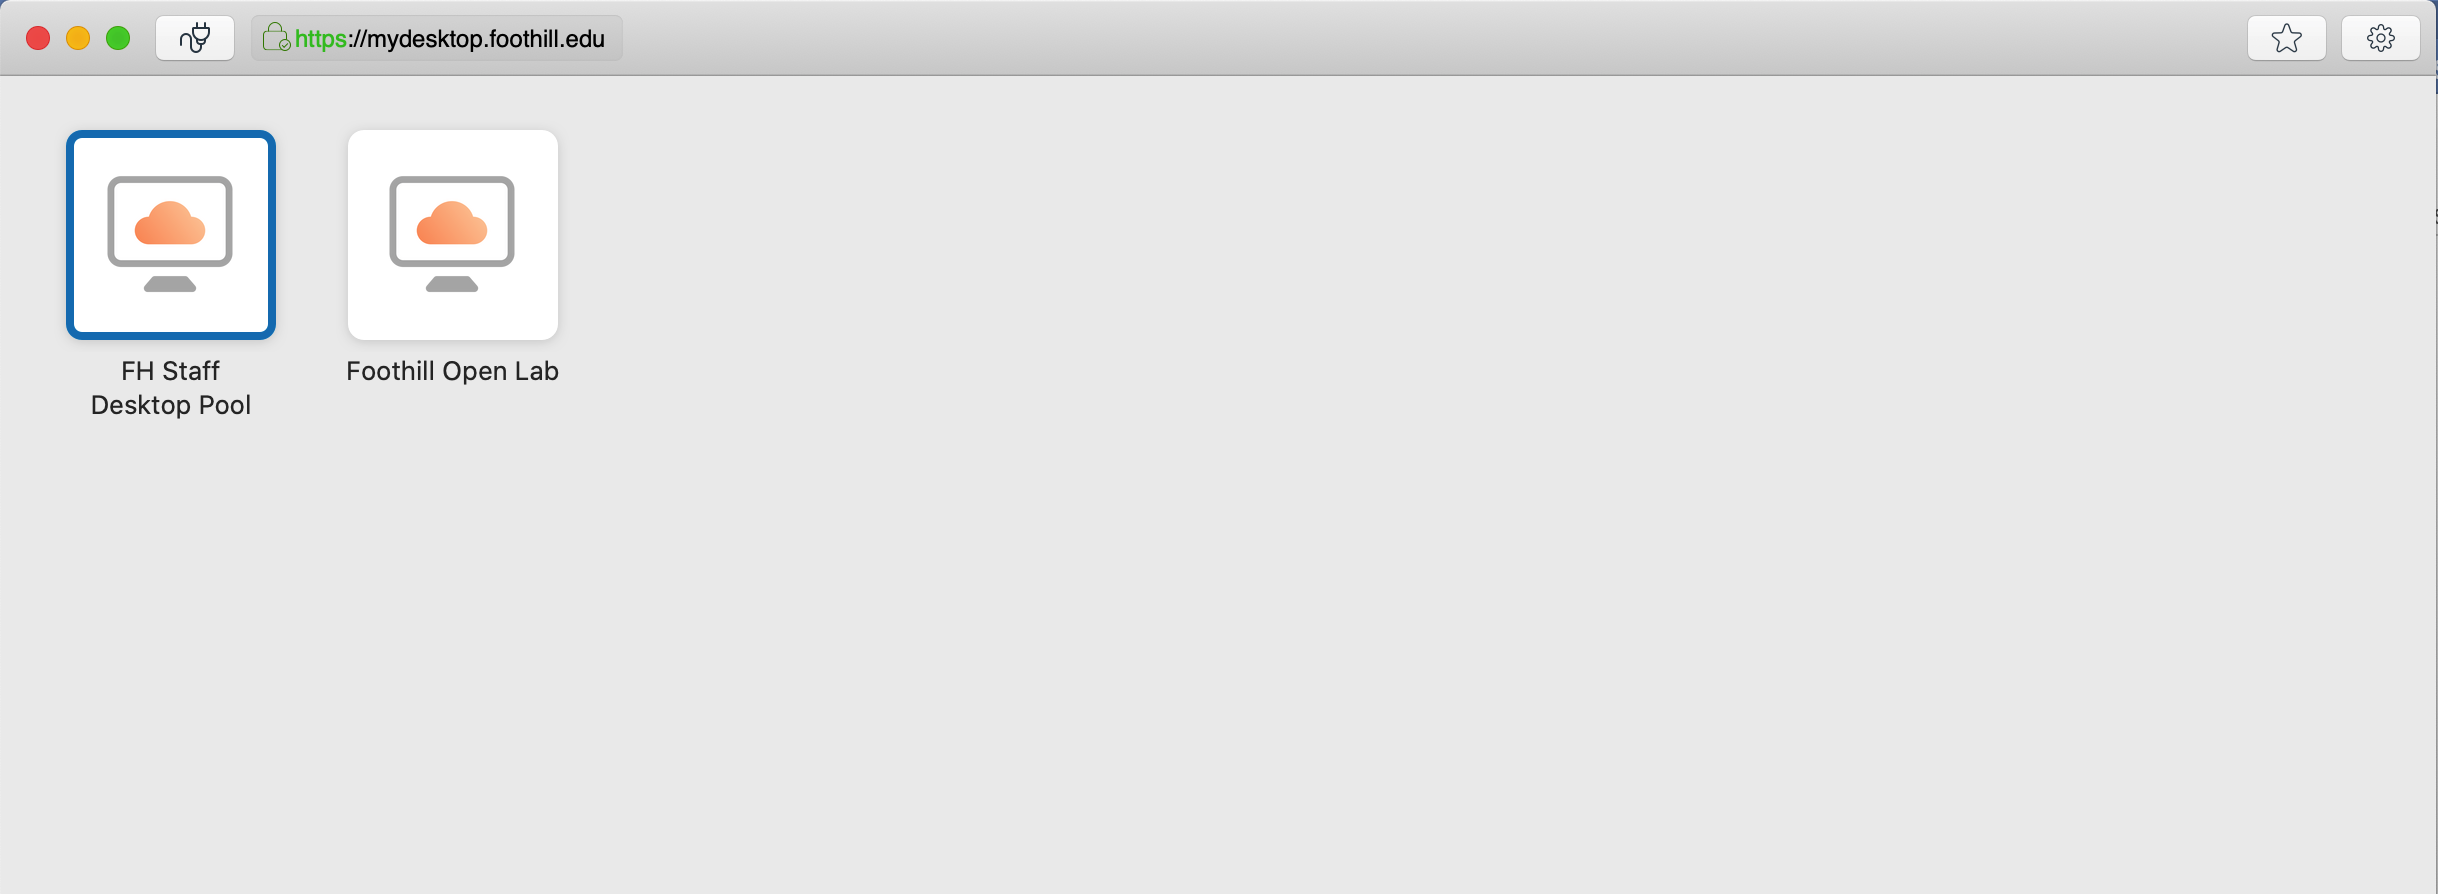
6. Double click on the desktop pool you want to connect. A Virtual machine will be provisioned for you yo use.
Linux Operating Systems
System requirements
- i386, x86_64, ARM architectures
- At least 2 GB of RAM
- libudev.so.0 is also required on Ubuntu distributions
Installation Process
1. On the Linux system, download the Horizon Client installer file from the Horizon Client PRoduct Downloads located here (The name of the file is VMware-Horizon-Client-x.x.x-yyyyyyy.arch.bundle)
2. Open a terminal window, change directories to the directory that contains the installer file and run the installer.
chmod 755 VMware-Horizon-Client-x.x.x-yyyyyyy.arch.bundle
sudo ./VMware-Horizon-Client-x.x.x.yyyyyyy.arch.bundle
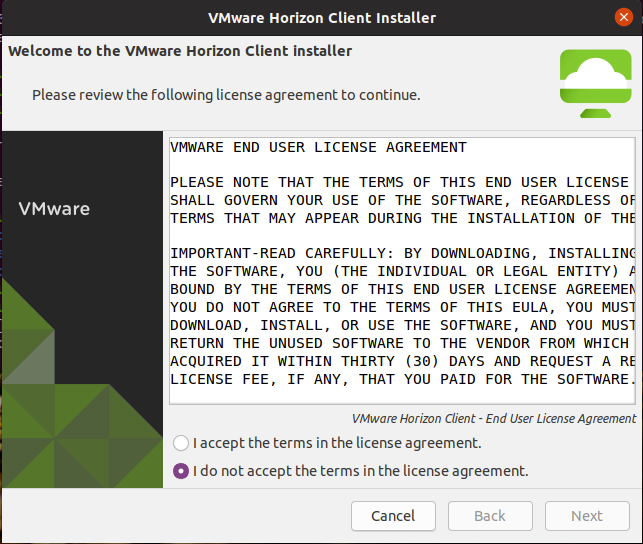
3. Accept the license agreement to continue
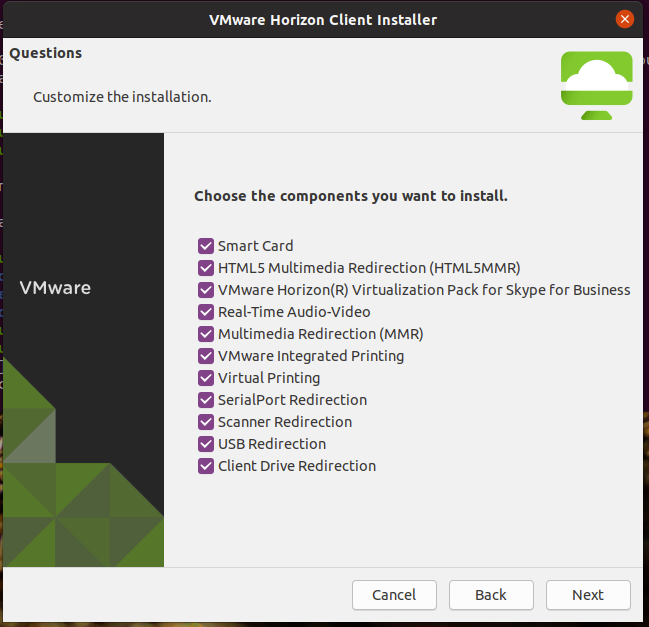
4. Under the installation customization windows make sure all the features are selected and click Next
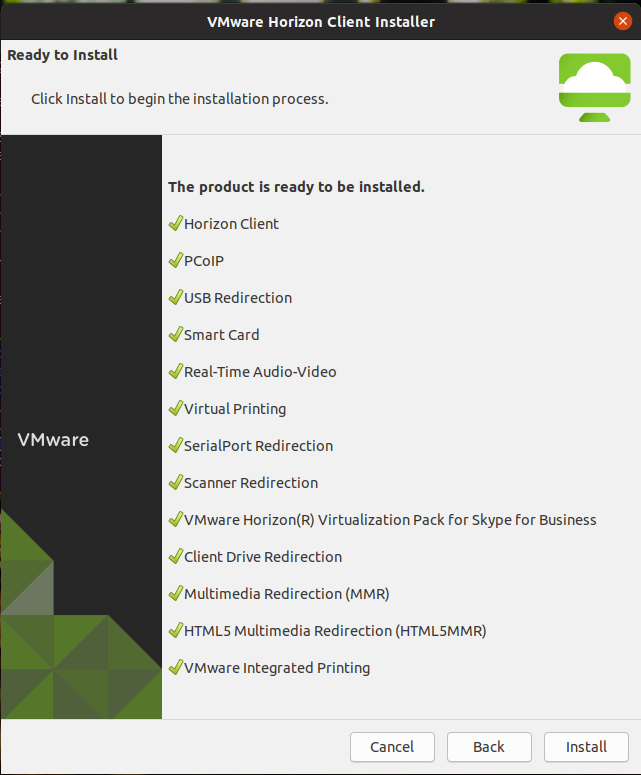
5. Confirm your selections and click Install
Configuring your Virtual Desktop Connection in Linux
Once you have downloaded and installed the Horizon View Client on your system. You will need to configure your connection server.
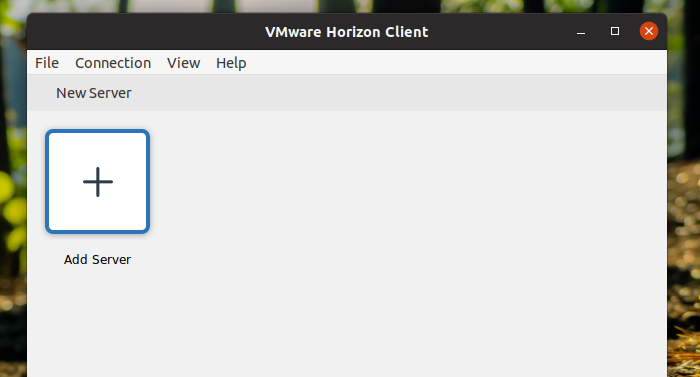
1. Double click on the Horizon View Client to start the application.
2. In the main windows double click on the Add server icon.
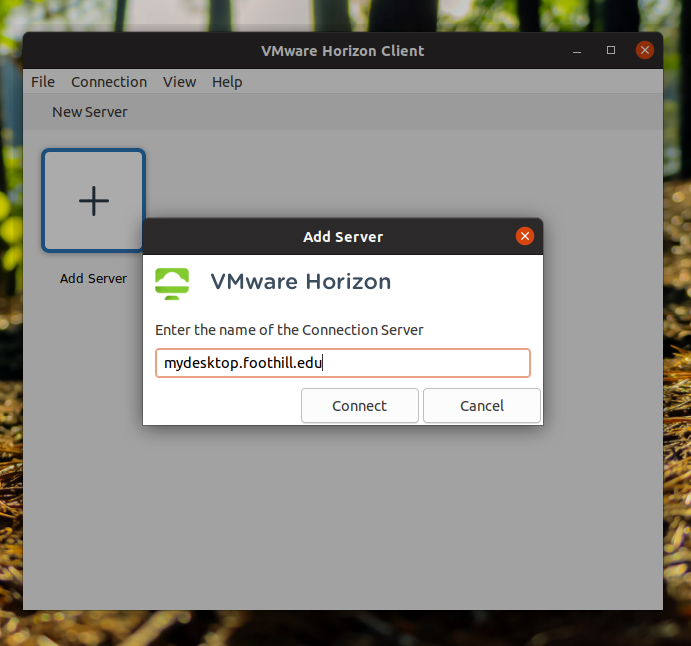
The system will ask you to provide a server name. The following are the available connection servers:
a. Foothill College: mydesktop.foothill.edu
b. De-Anza College: mydesktop.deanza.edu
c. Sunnyvale Campus: mydesktopsunnyvale.foothill.edu
4. You are done configuring your connection. Now to start your connection, double click on the Connect button. The system will ask you for your Foothill De-Anza user credentials. In this case, you need to use the same credentials you use to login to myportal.fhda.edu.
a. User Name: Campus Wide ID
b. Password: myportal password
c. Domain: FHDA
5. Once you are connected to our system. You will be presented with the desktop pool available for you. Please note that this screen could be different depending on the users. Staff and Faculty will see the Staff Pool and students will only see the Open Lab desktop pool.

6. Double click on the desktop pool you want to connect. A Virtual machine will be provisioned for you yo use.
Chrome OS Operating System
Installation Process
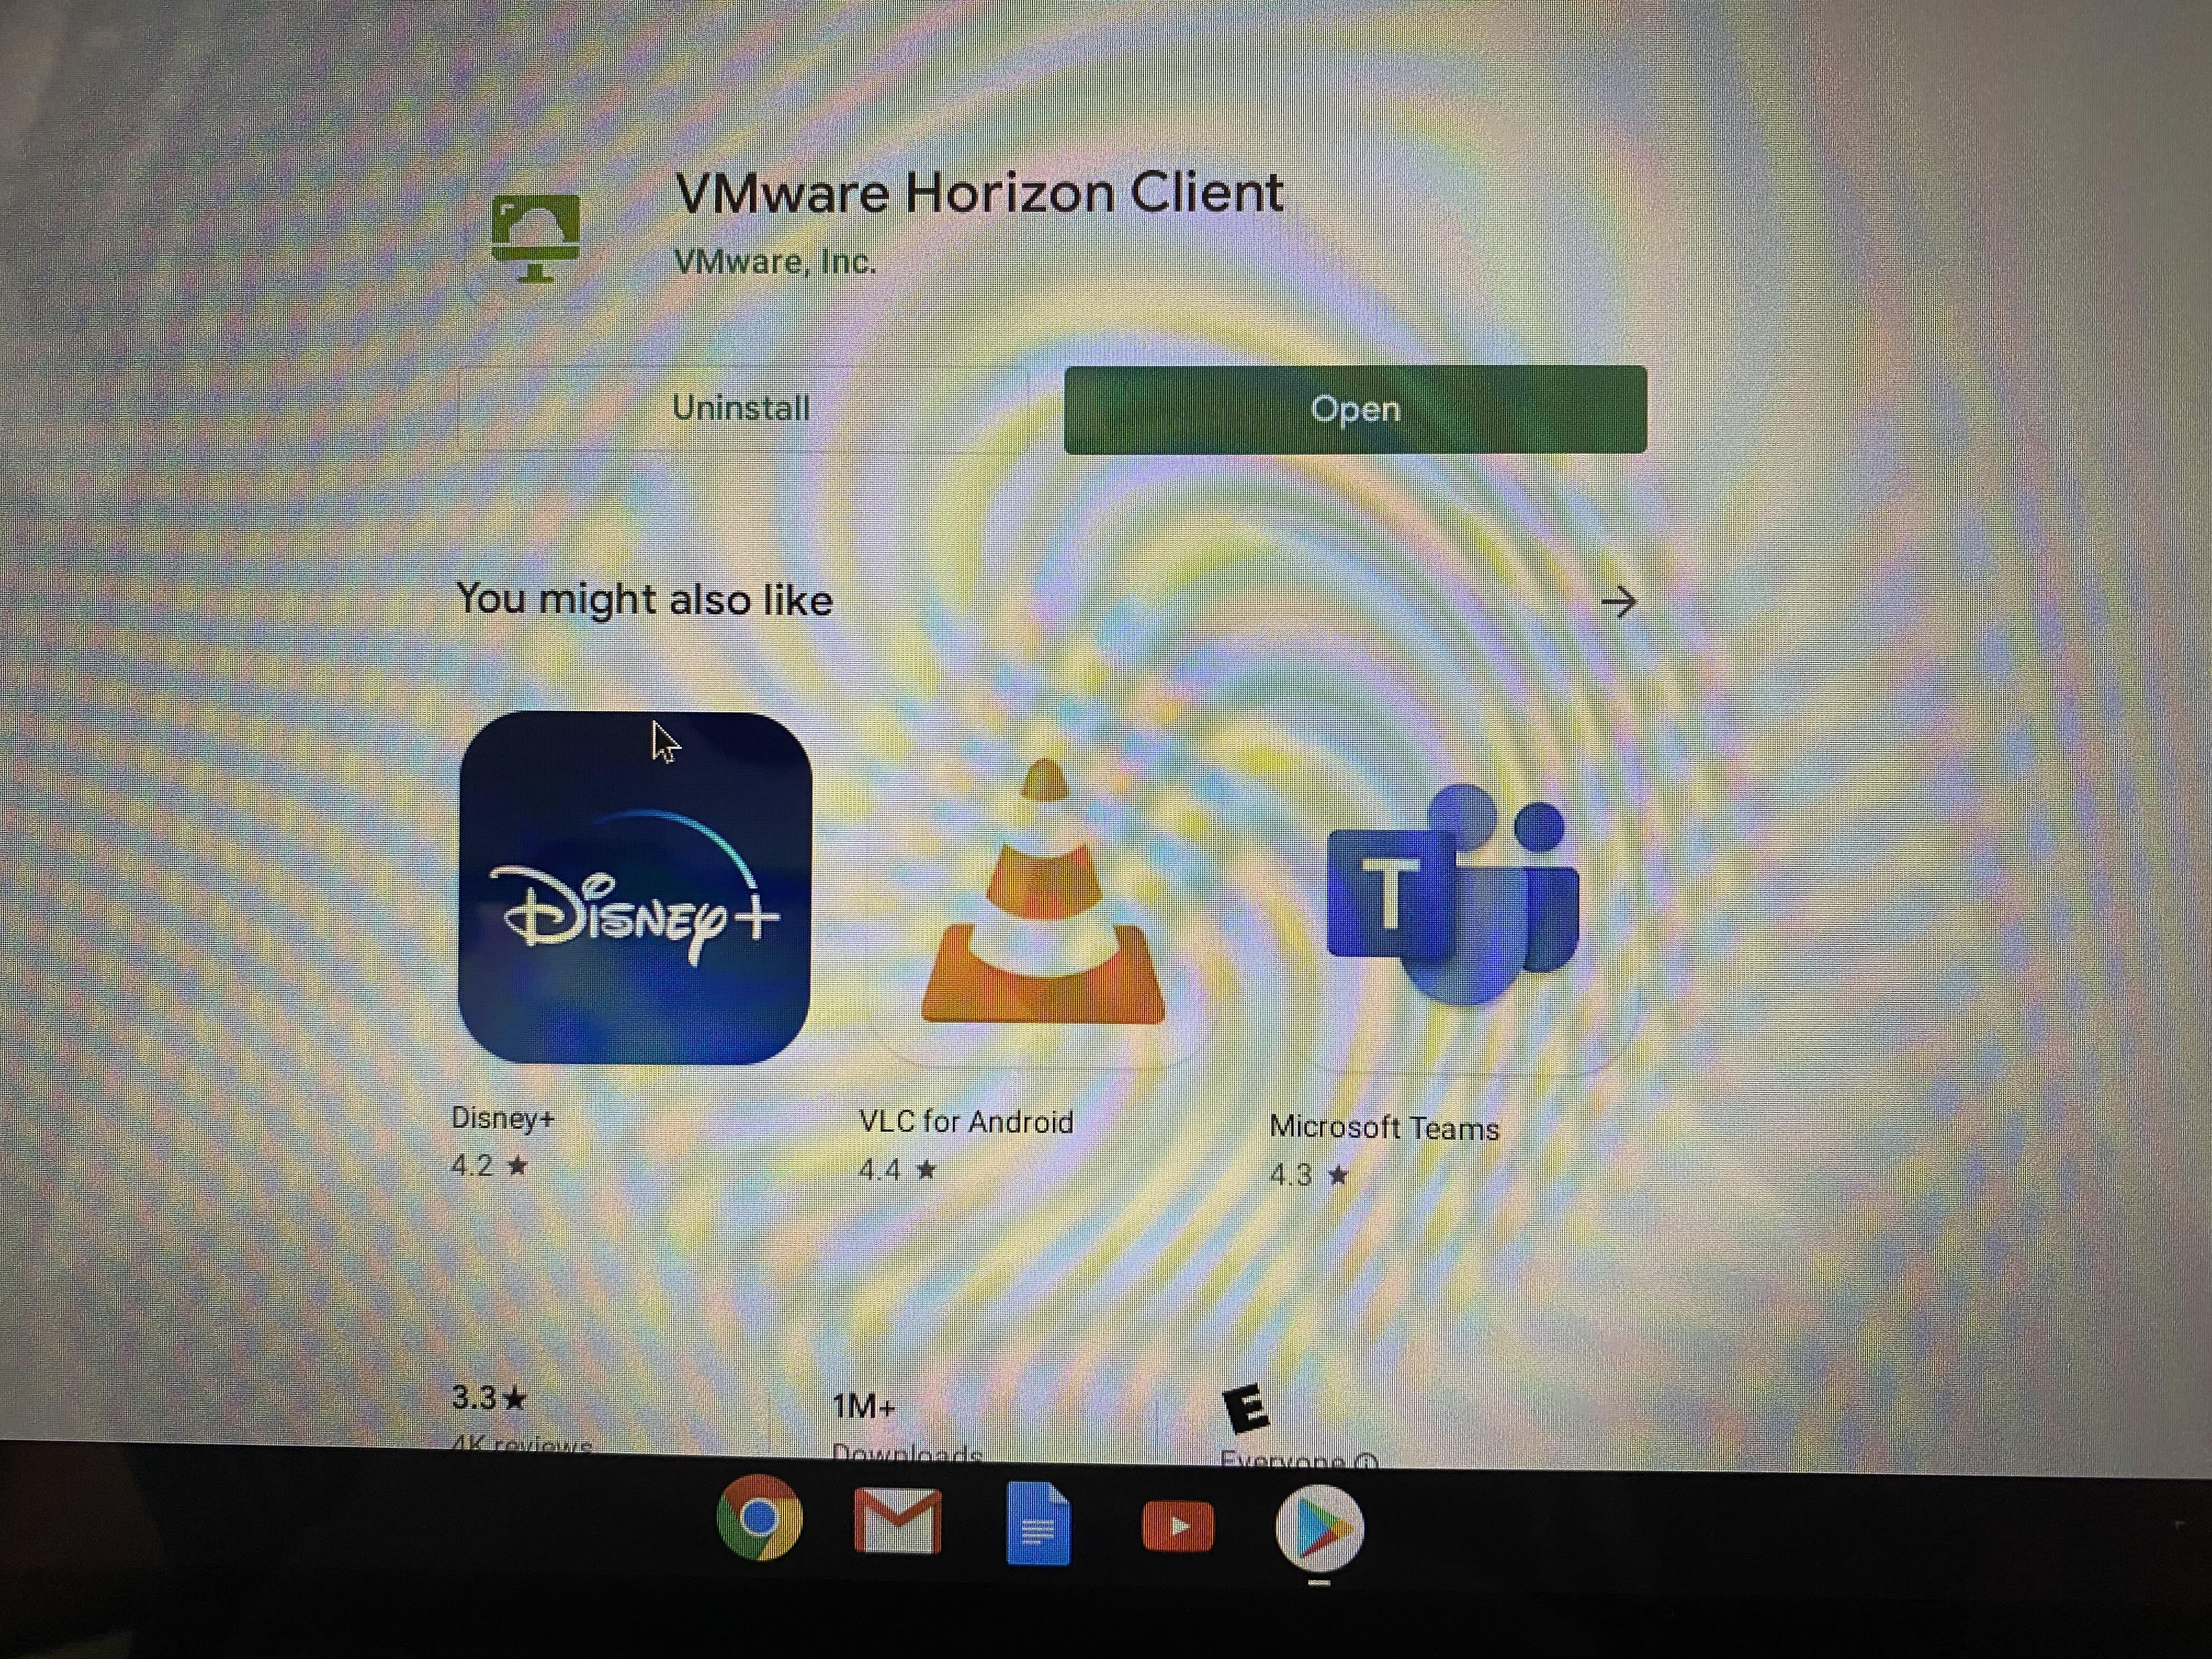
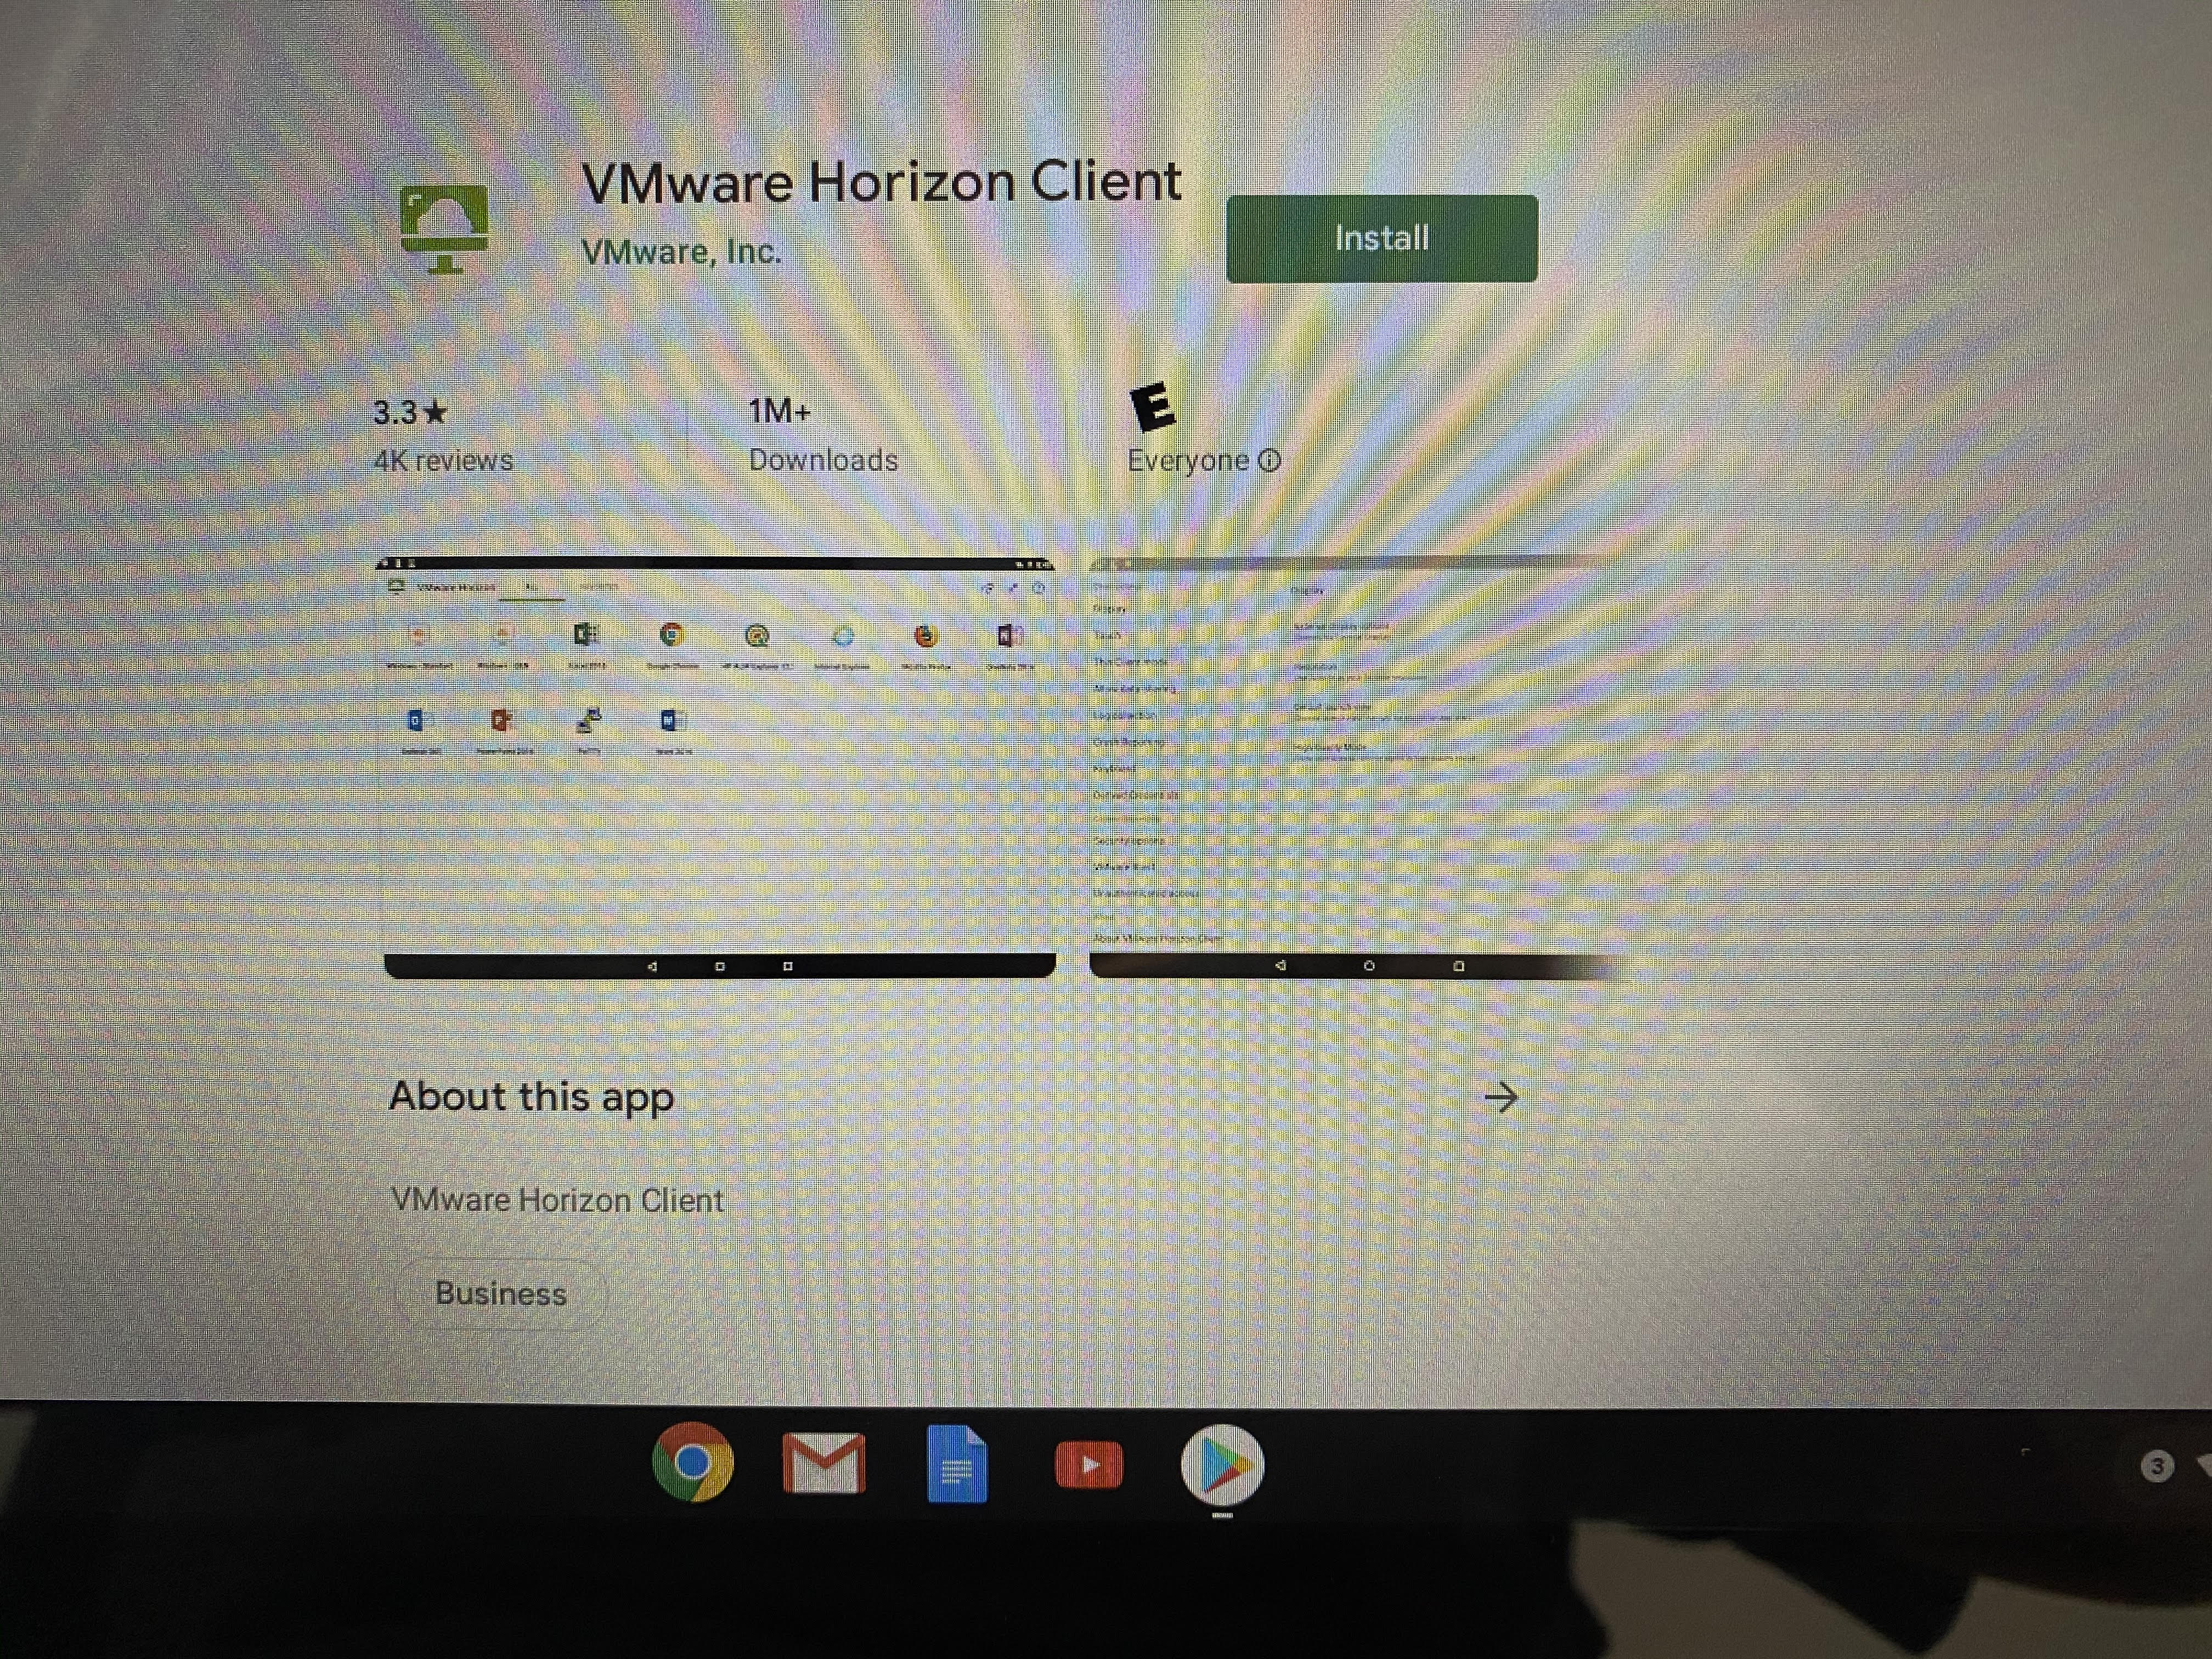
1. Open the Google Play store and search for "VMware Horizon Client"
2. Once the app is found, click on Install
3. Allow Horizon to access your USB devices
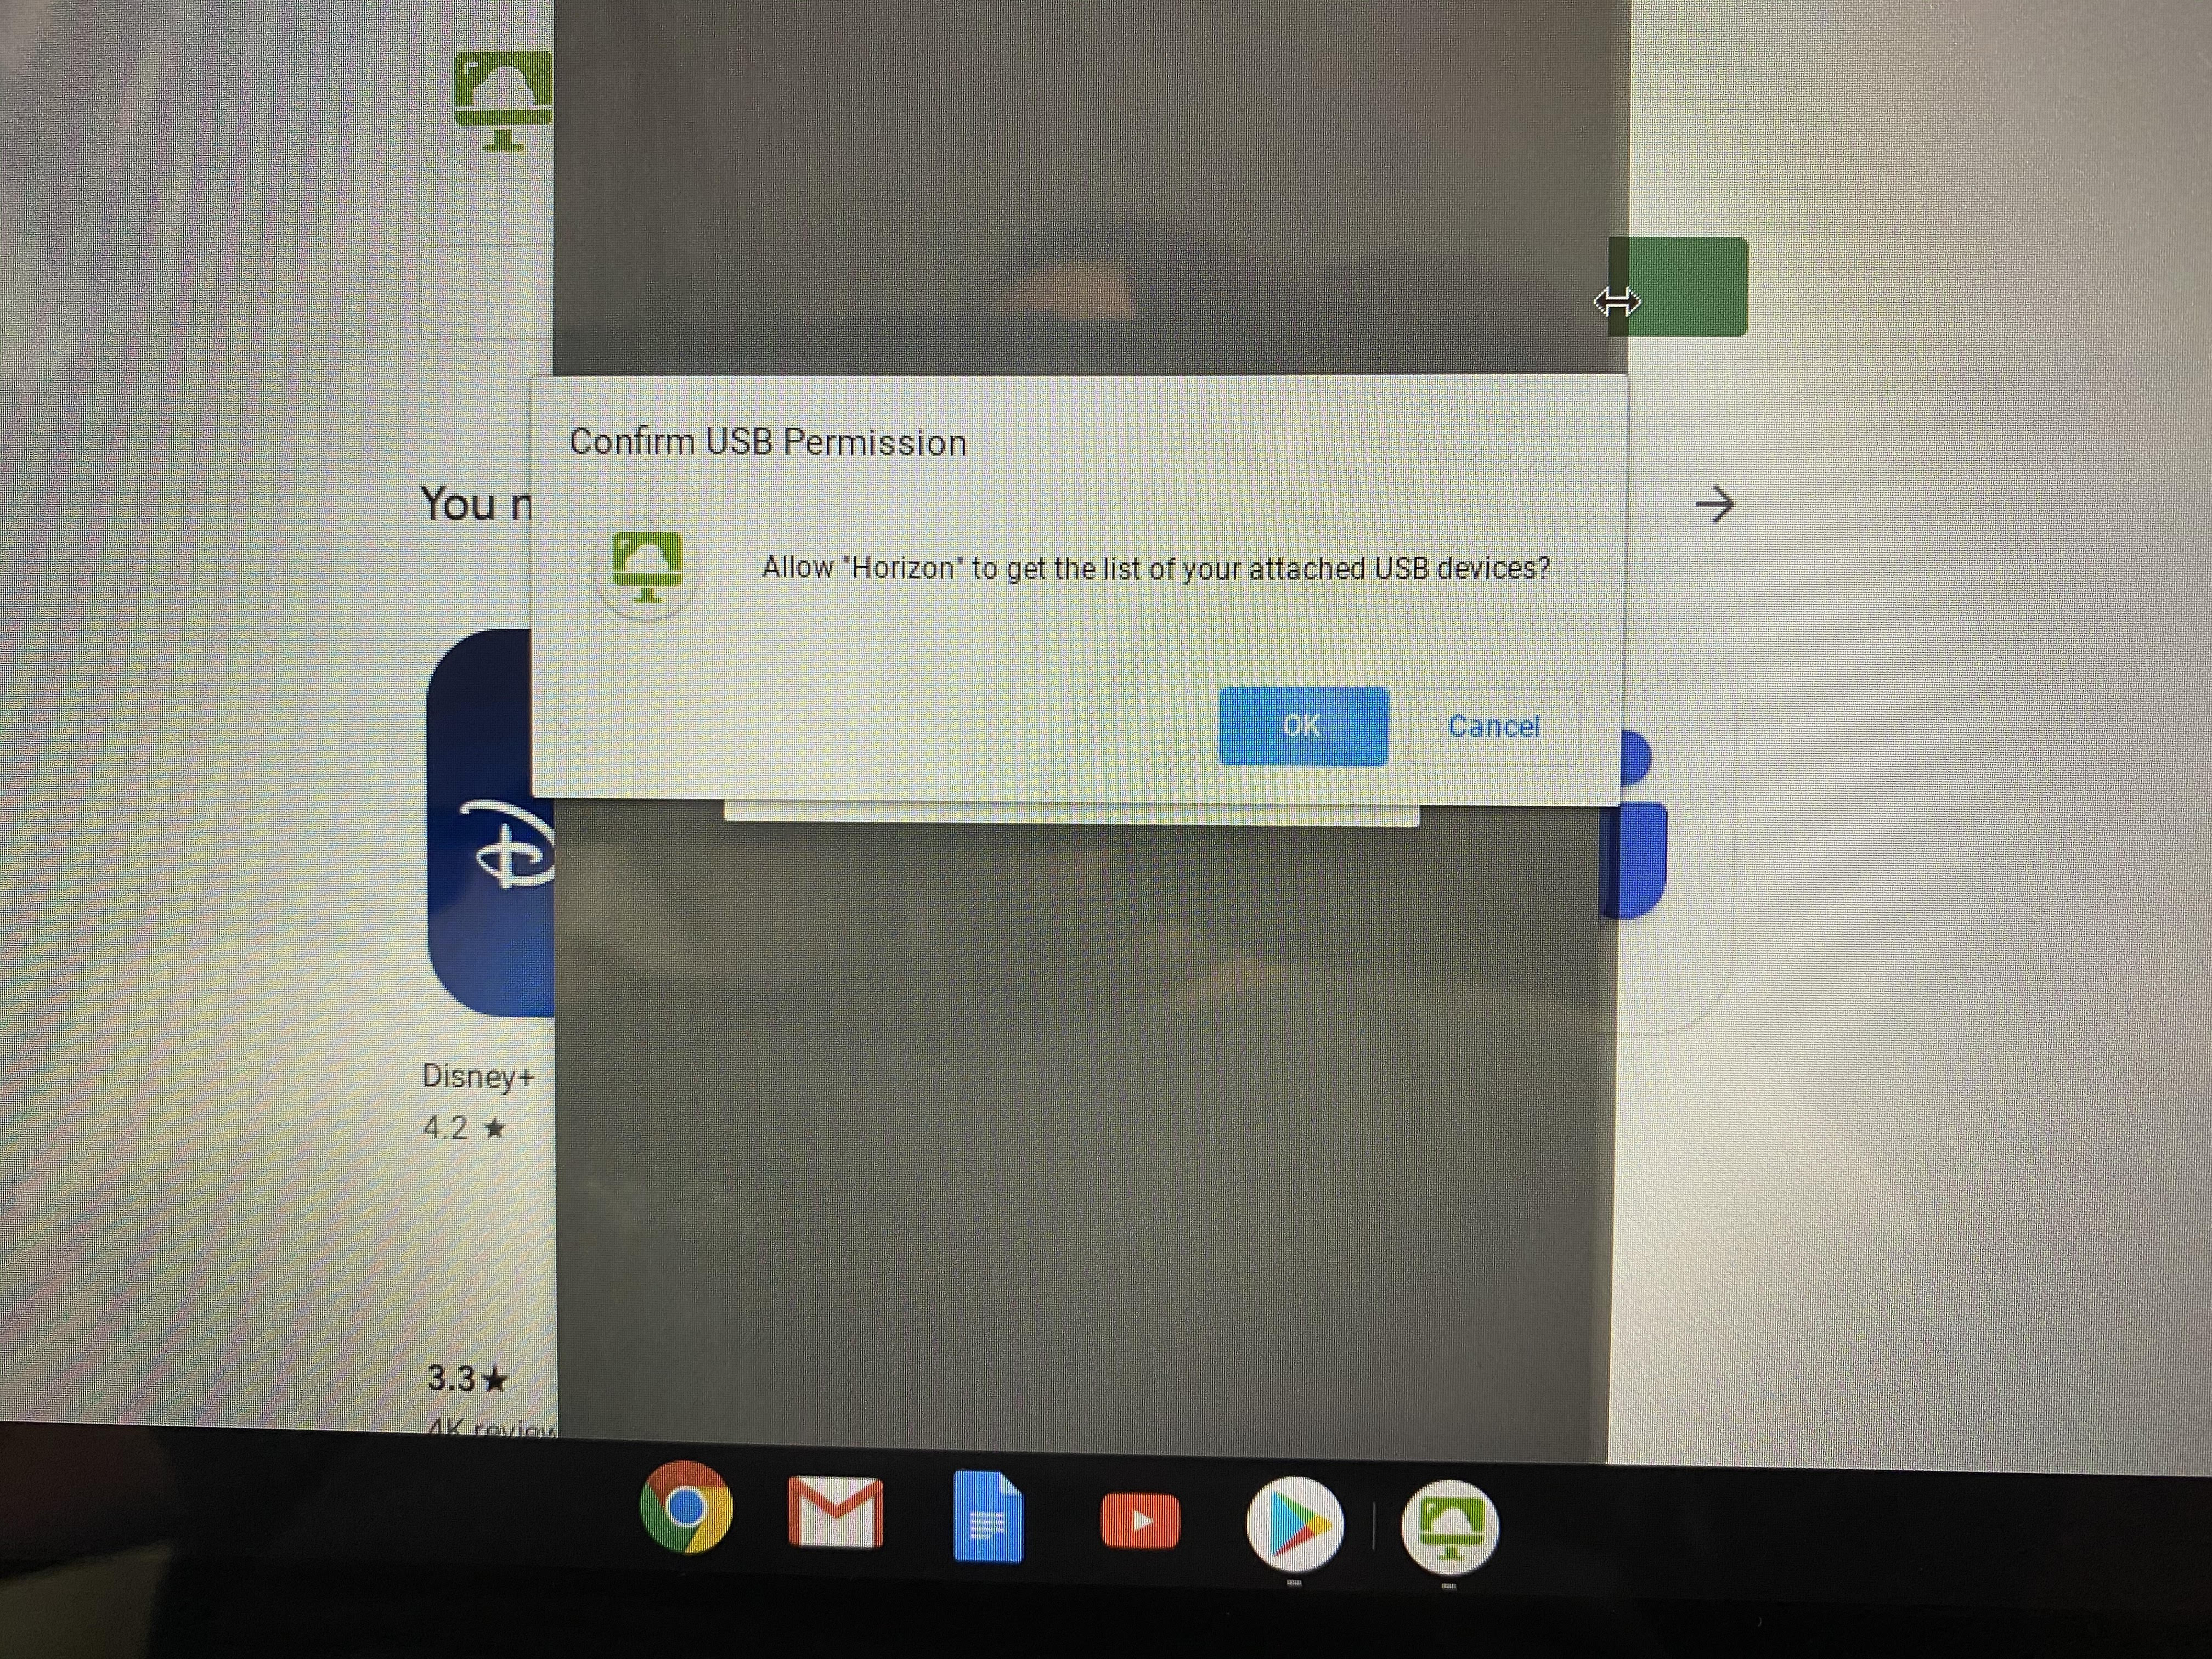
4. Once the installation is complete, you can open the app and connect to the district's VMware Horizon hosts.