9. How to create a new tile
- Katia Rostam Yazdi
Owned by Katia Rostam Yazdi
Last updated: Oct 05, 2023
Use this option to create a single tile to be displayed on the web page. Every website has a set of tiles on the landing page.
If you need to add the tile to any other page this is the structure you need to create.
This is how you do it
- Create a folder and name it '_index-tiles' at the same path as the desired page.

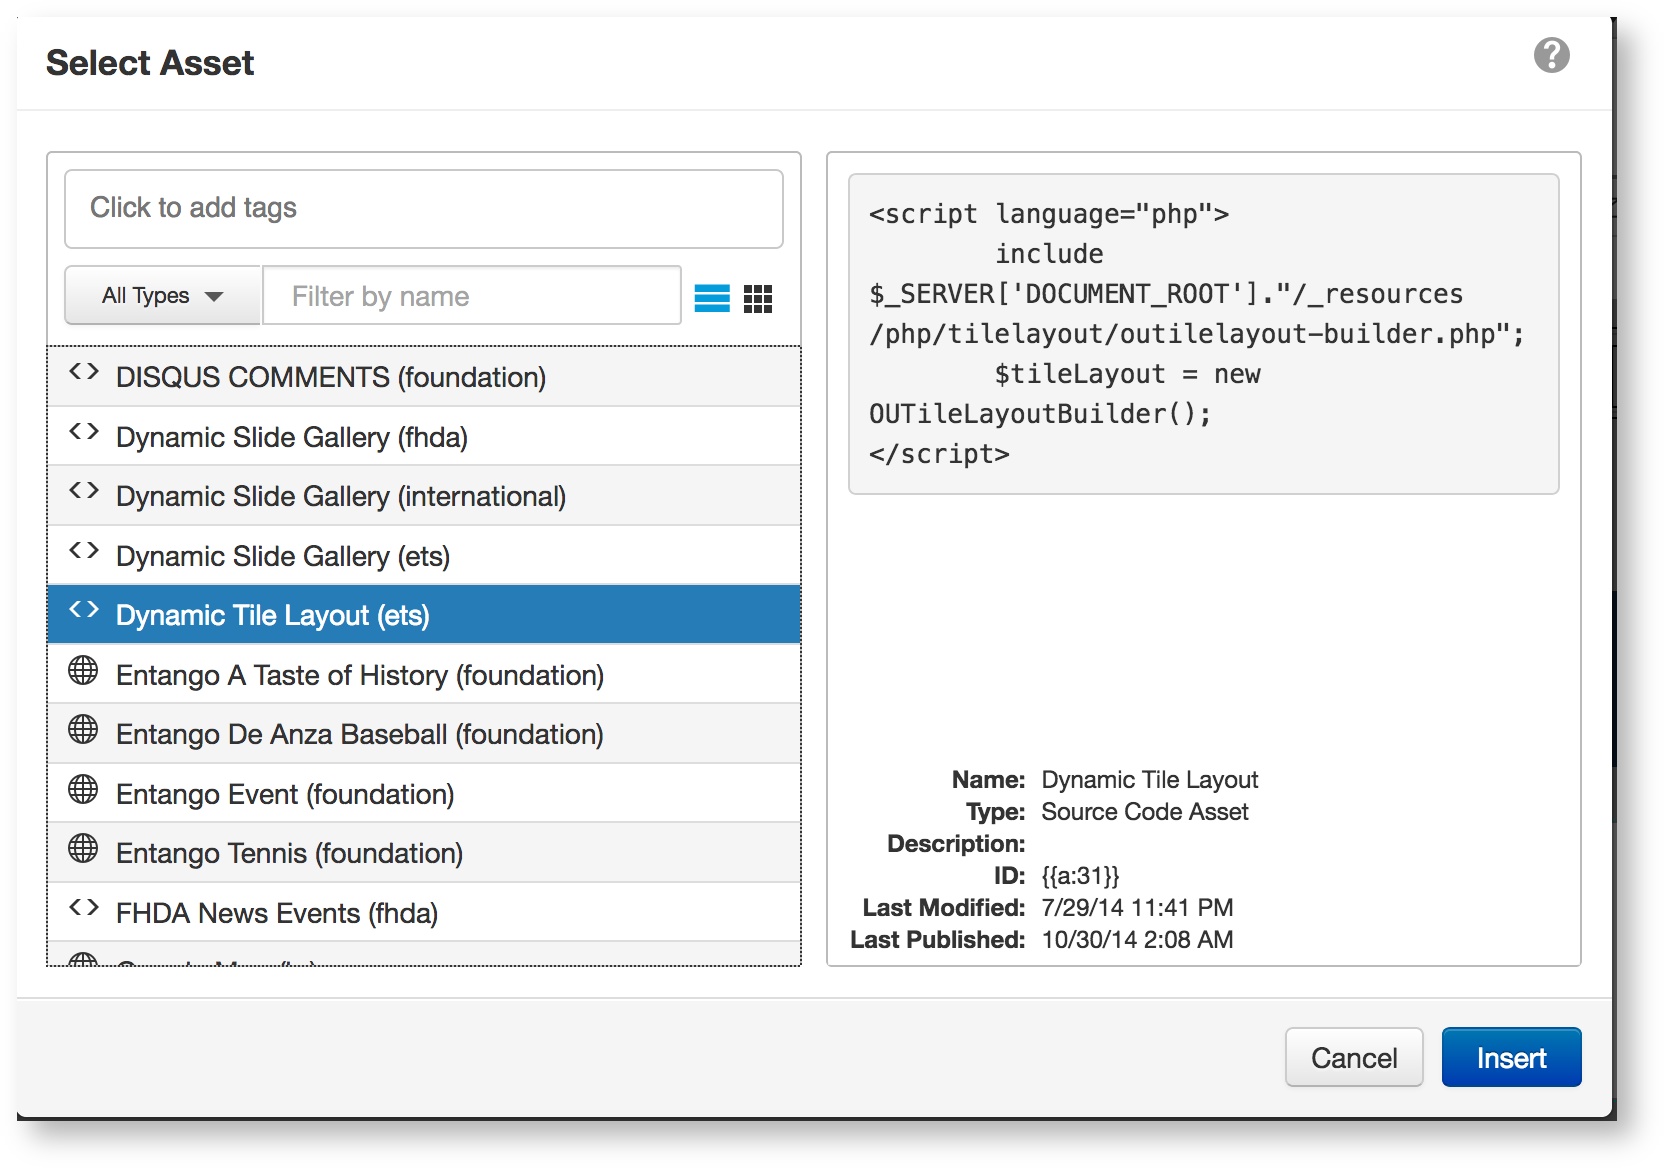
- Add the 'Dynamic Tile Layout' asset from the 'Insert Asset' toolbar to the desired page.
- Please make sure you pick the right one with (ets) at the end.
- The tiles won't be displayed on the page preview. After you publish the page it will show up on the live page.

- Navigate into the '_index-tiles' folder. Use the
 'New Page Tile' to add the slides one by one inside the '_index-tile' folder.
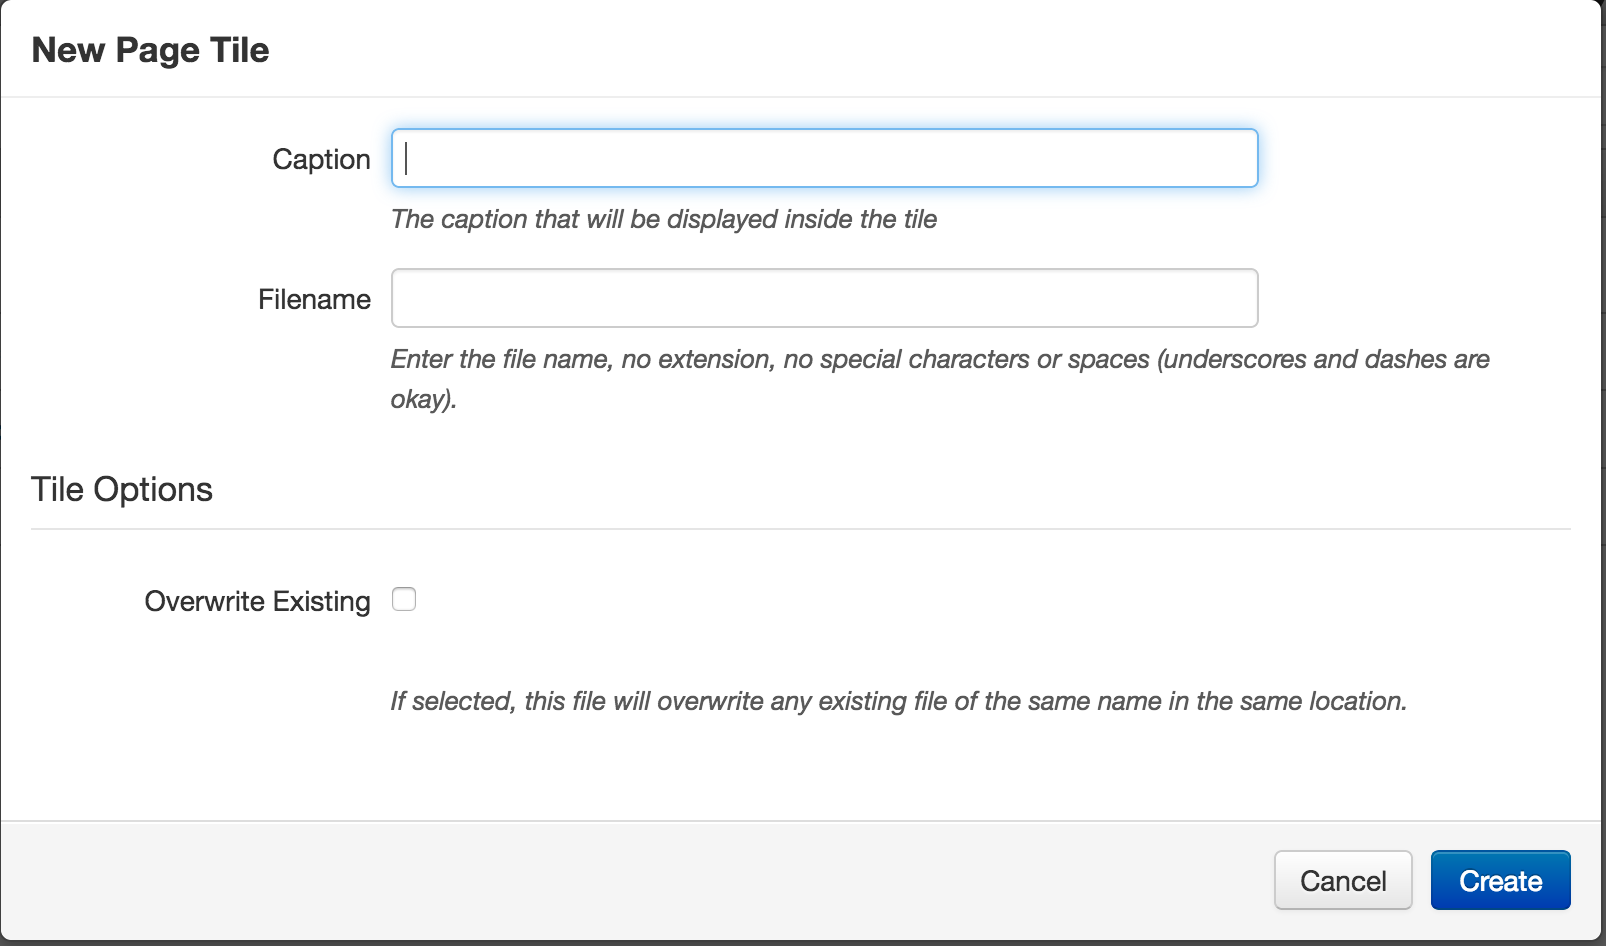
- 'Caption' will appear on the tile.
- Type in the file name, a name that is related to what it displays. (to control the order of the tiles add alphabetic letters to the beginning of the file names (e.g, A-file-name, B-file-name, C-file-name, ....)
- Click on 'Create' button.
- In the new file
- Click on 'Edit Tile Content'.

- In the 'Icon' section, click on the square and from the toolbar, use the "Insert/Edit Image" to pick the icon for your tile.
- Put your cursor on the 'Insert/Edit Link'. Select the 'Insert/Edit Link' tool from the toolbar.

- Copy/Paste the URL in the URL box or select the page you want by clicking on the magnifier icon next to the box.
- Click 'OK'.
- Click on 'Edit Tile Content'.
- To apply the accent color of your department to the tiles, use the file 'palette.json' that is containing the color's hex code.
- Don't forget to Save and Publish everything including the main page, the images and the '_index-tiles' folder.
Note: This is the most complicated piece of OU Campus that has been developed in house. If it doesn't work the way you expect it to, feel free to ask ETS for help.
, multiple selections available,