Adobe Sign: How to Create a Web Form
Introduction
For forms that requires only 1 signature from the form submitter, use Web Form instead of Workflow. Webforms can also be used for forms that require multiple signatures but with static recipient routing, for example, most of the A&R student forms routes to webregfh@fhda.edu or webregda@fhda.edu for acceptance.
A web form has a static url that can be published on any public web site. Anyone can access and submit a published web form. Email confirmation is required in order to submit a web form. The form submitter will receive an email to confirm his/her email address. After confirming email, the form submission will then be considered complete.
For testing, use your person account to create webform
For student webforms ready to go live, use damobile@fhda.edu to create webform
For instructor webforms ready to go live, use famobile@fhda.edu to create webform
Step 1: Log in to Adobe Sign
You can log in to your CWID account to create a web form for testing purpose. You will receive an email notification every time a web form is submitted. This notification can't seem to be disabled. Once testing is completed, log in with the department account (TBD) to avoid flooding your inbox with notifications.
Step 2: Create a web form
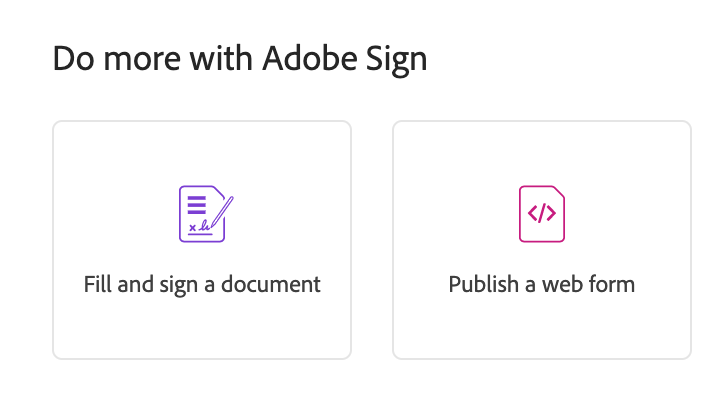
On the dashboard, click on Publish a web form.
Step 3: Configure the web form
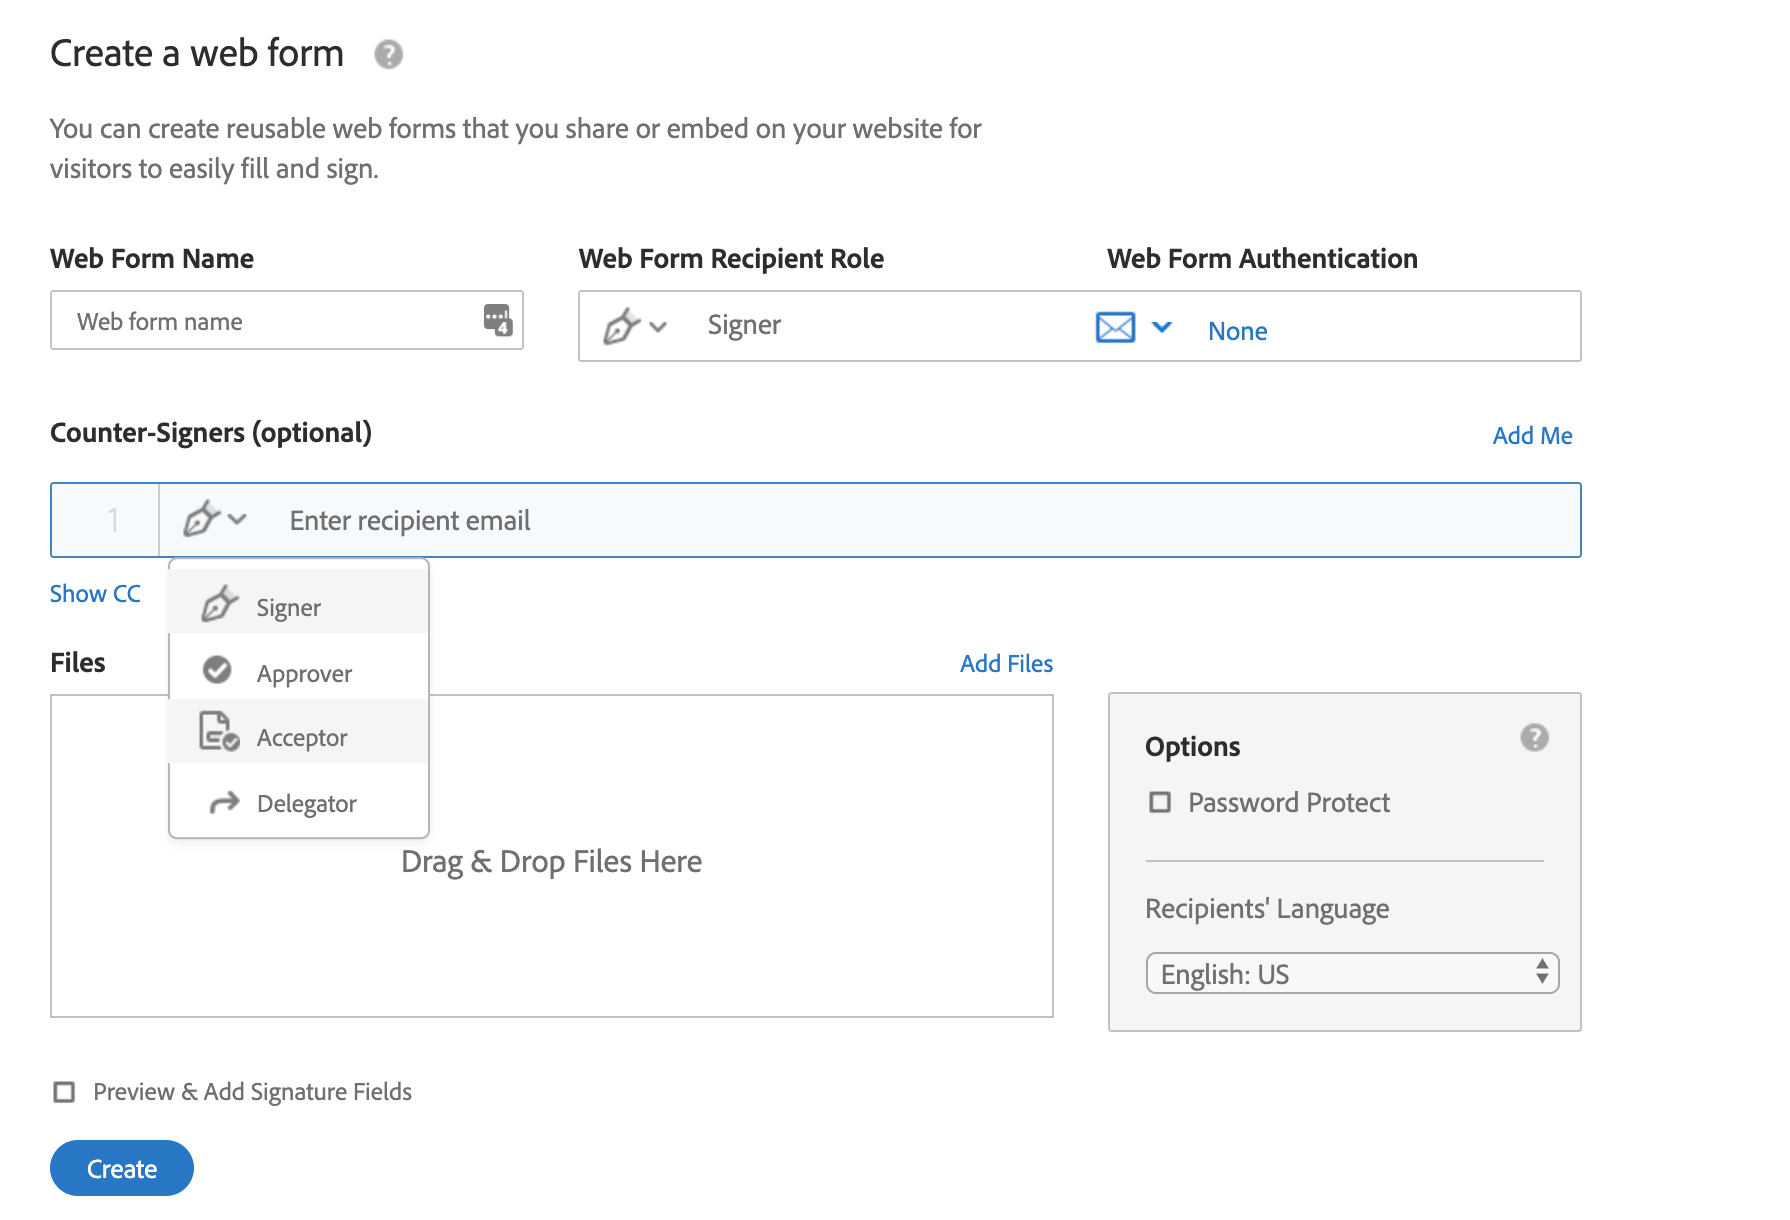
First, click on Add Files to upload your AdobeSign PDF. The filename will become the Web Form Name. Modify if needed. Add Counter-Signers if needed. If no additional signature is required, the counter signer can be set to Approver or Acceptor. Check Preview & Add Signature Fields and click on Create. Save the web form is everything looks ok.
Step 4: Share the Web Form URL
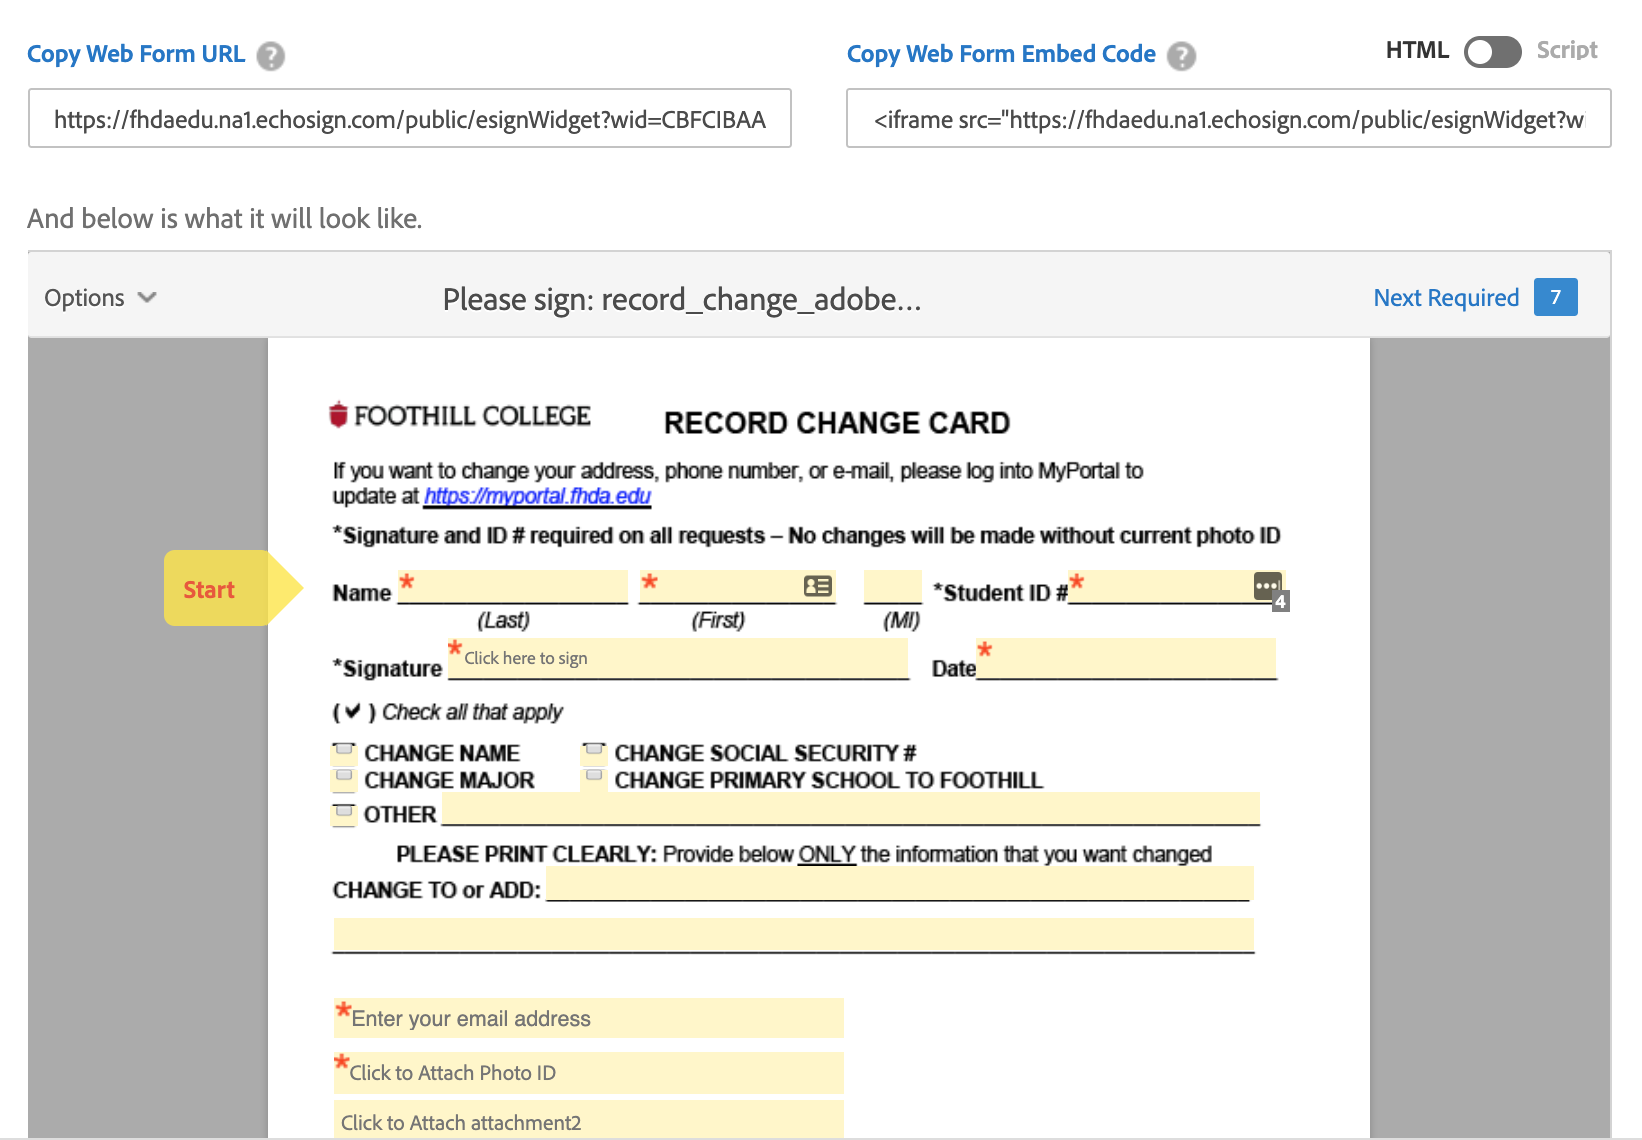
Copy Web Form URL and share if the web form needs to be made available on the college websites.
Any webform created on damobile will be available in Student Webform section.
Step 5: (Optional) Disable a Web Form
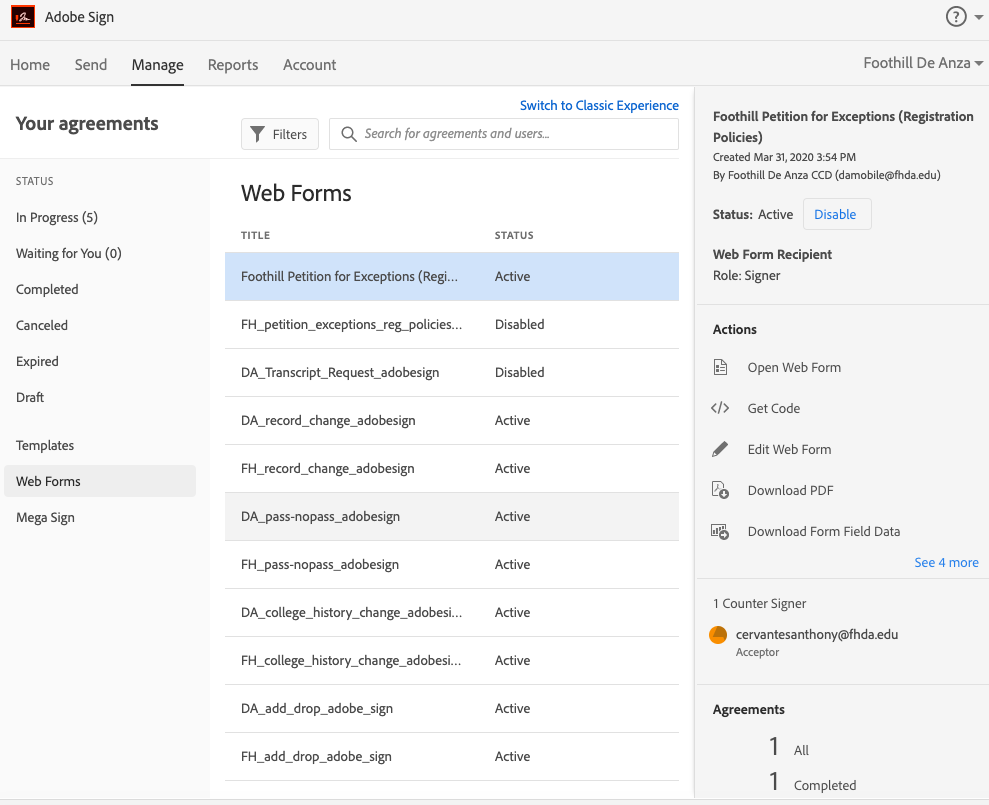
On Manage tab, select the web form to disable and click on the Disable button on the right hand side. You will be asked to either enter a redirect url or a warning message to display.
Enter the new webform url as redirect if there is one. The in-progress agreements will not be impacted.


