How to Use an Adobe Sign Workflow
- Claire Chang
- Mahmood Hasan
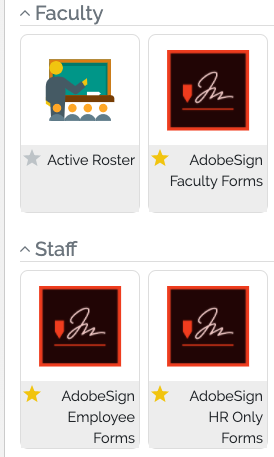
Step 0. Go to MyPortal Adobe Sign apps (under faculty or staff)
Step 1. Adobe Sign Account Initialization
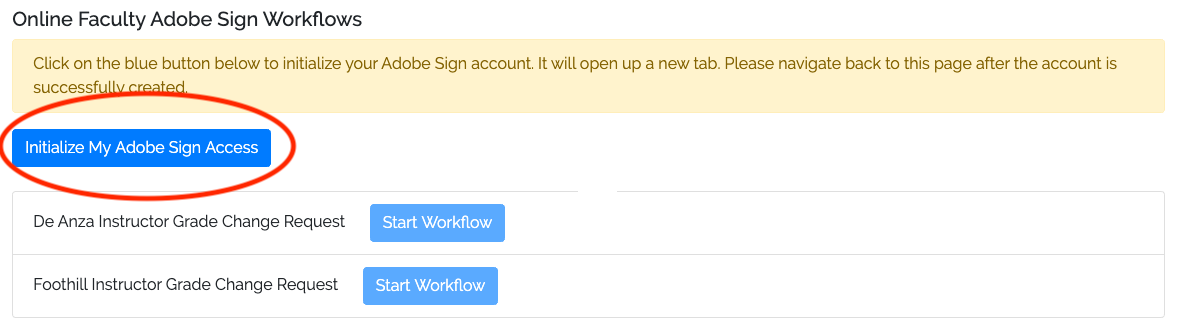
Skip this step if don't see the "Initialize My Adobe Sign Access" button and go to Step3a.
If you have not used Adobe Sign online before, you will need to initialize your access. Click on "Initialize My Adobe Sign Access" button.
Step 2. Adobe Sign Dashboard
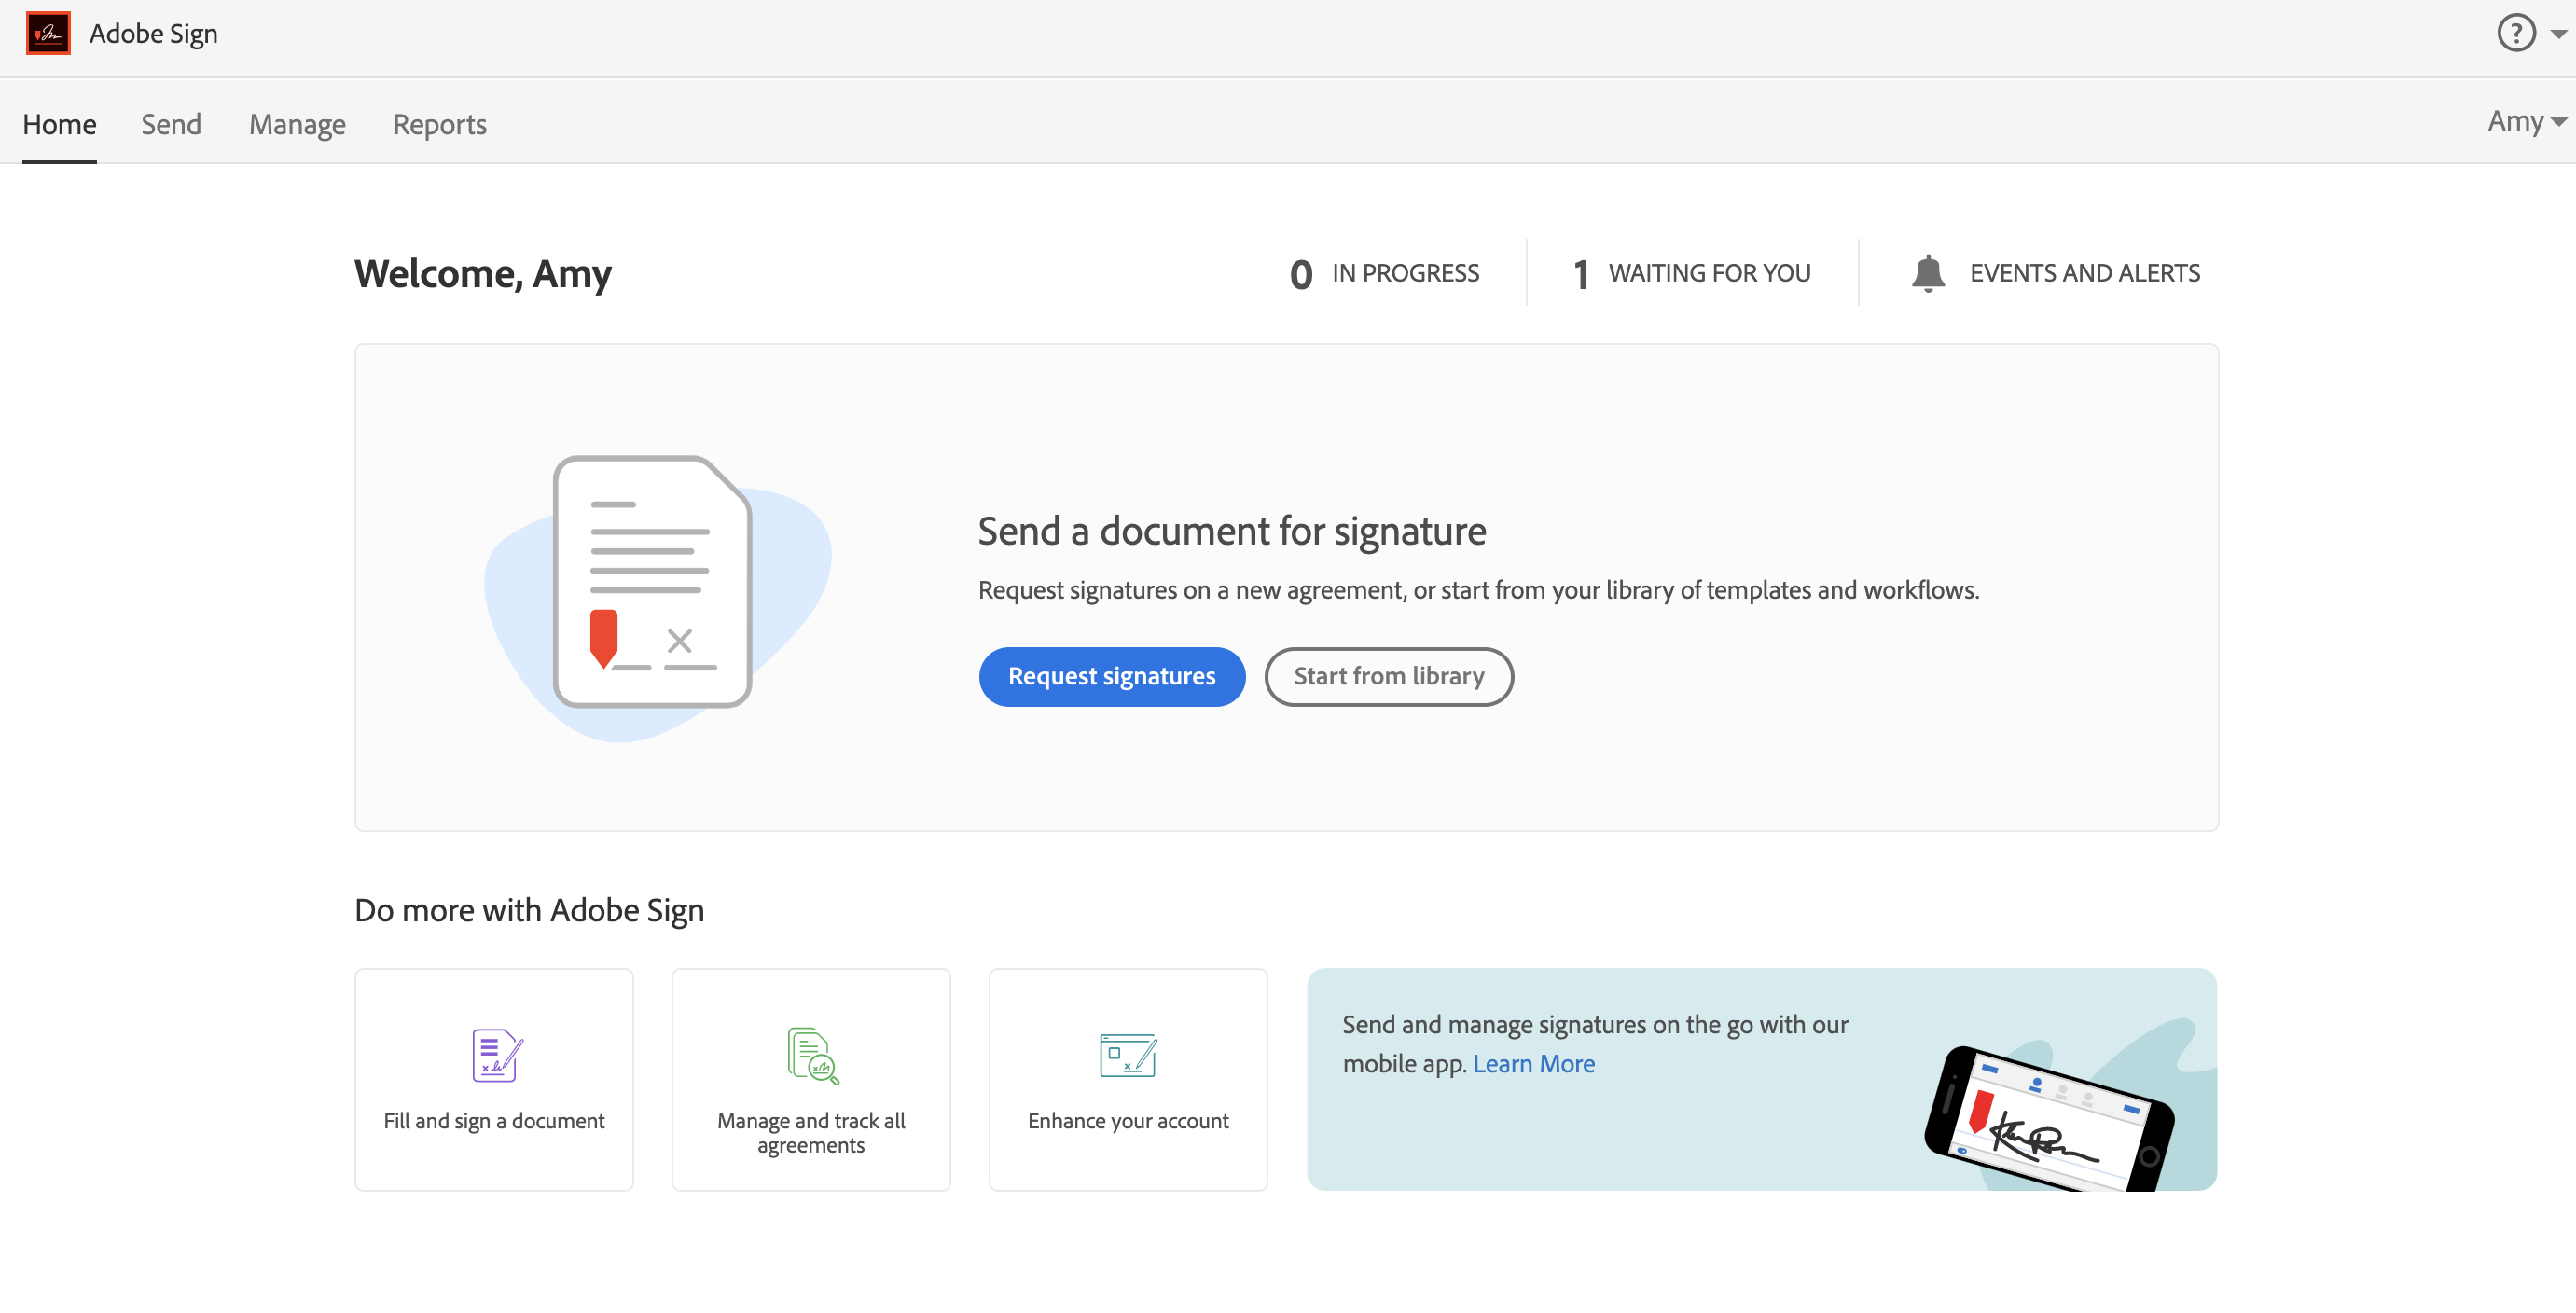
If you account is initialized successfully, you will be seeing the Adobe Sign dashboard in another tab. If you see corporate sign-on failure, go to If Account Initialization Failed
To use the pre-defined workflows, go to Step3
If you have any document you'd like to send other than the FHDA-defined workflows, you can click on Request Signatures to start sending. DO NOT USE TEMPLATES IN THE LIBRARY. EACH TEMPLATE IS MAPPED TO A WORKFLOW FOR EASE OF USE. USE THE WORKFLOW INSTEAD. Check out this Adobe Sign Tutorials. It has many useful 2 minutes how-to videos!
If Account Initialization Failed
Error message: Corporate sign-on failed. Please contact your account administrator
You see this error if you already have a free individual Adobe Sign account.
Starting from 9/15/2020, Adobe Sign no longer allows individual users to request support. Please submit an ETS ticket (Brief description: Adobe Sign Corporate Sign-on Failure) with the following information:
- I have encountered Corporate sign-on failure.
- My district email address is ???@fhda.edu
- I provide my consent to delete my individual Adobe Sign account if needed (will have data loss, please sign all agreements sent to your email before you send this support request) or migrate my existing account to our corporate environment if possible (no data loss)
After AdobeSign support processes your request, try again to initialize your account.

Step 3. Go back to your MyPortal tab if step 2 is successful
And refresh this page

After refreshing the page and click on the Adobe Sign app again, you will see the available workflows
Step 3a. View a list of available workflows
You are ready to use the pre-defined workflows.

Step 4. Start a workflow
Choose a workflow.
Foothill specific workflows start with "Foothill" in the workflow name.
De Anza specific workflows start with "De Anza" in the workflow name.
District workflows start with "FHDA" in the workflow name.
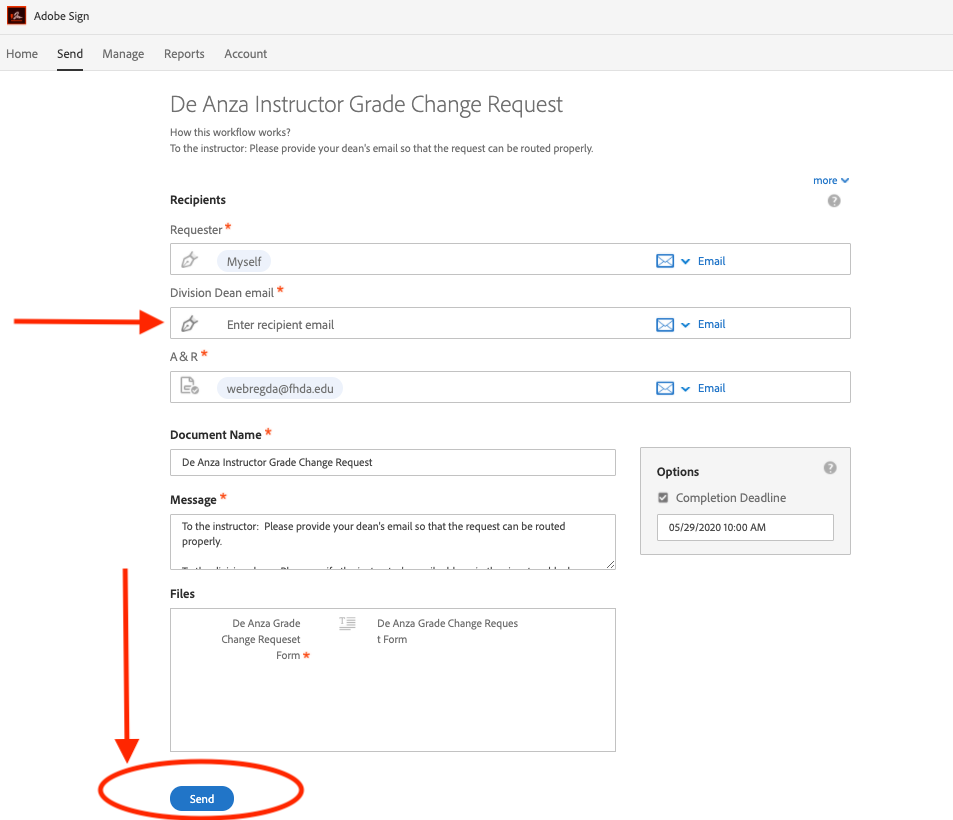
Click on the "Start Workflow" button to start a workflow. You will see a starting page like the following page if no How to Use an Adobe Sign Workflow#Popupblocker.
This example De Anza workflow requires Division Dean signature. The corresponding Foothill Grade Change workflow does not require Dean signature.
Enter the recipient email(s) required in YOUR workflow and click on "Send". (There is no need to attach any file. Form is already attached.)
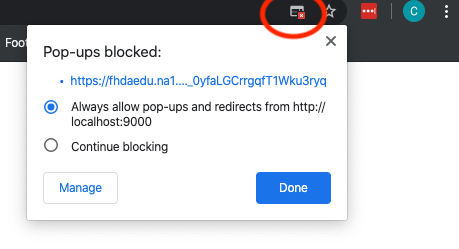
Popup blocker
If nothing happens, check if your popup is blocked. If it is blocked, you will see a red X to the right end of the url address bar. Click on the red x.
Select Always allow pop-ups option and click on Done. You may need to refresh your myPortal page and try again.
Step 5. Fill out the form and Click to Sign
Click on the yellow Start arrow to start filling out the form.
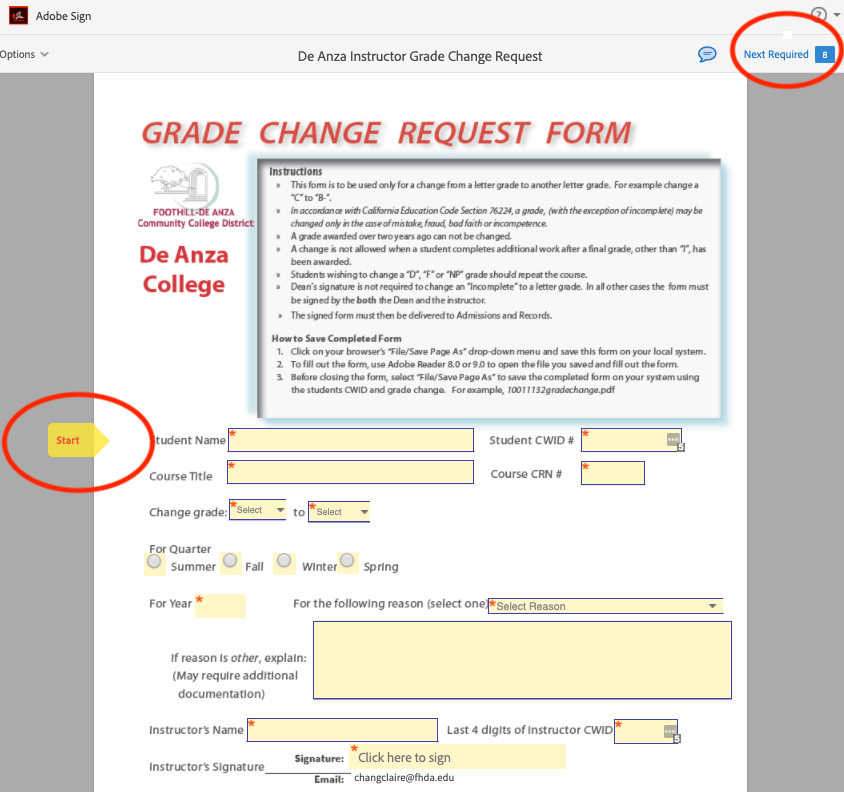
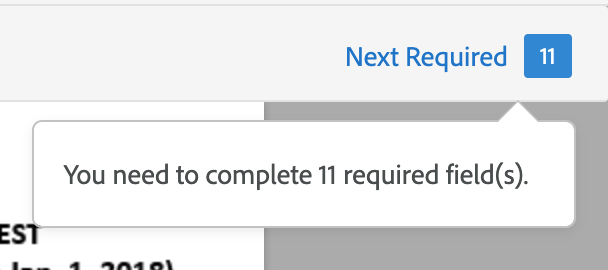
A number shown on the top right area of the page indicates the # of required fields to fill. Clicking on the "Next Required" link brings you to the next required field.
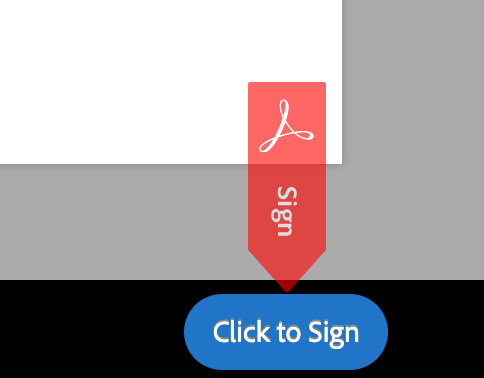
Once all the required fields are filled, a blue "Click to Sign" button will appear the the bottom of the page. Click on the button to submit the form.
Step 6. The workflow continues
The workflow engine will send the agreement to the next recipient defined in the workflow settings. After all parties have signed, it will go back to the department representative for final processing. You will receive email notifications.
Additional Resources
Adobe Sign Video Tutorials
Acrobat DC Tutorials 
Create Forms with Acrobat
How to set up your digital signatures
05/29/2020 Adobe Sign Workshop Recording
05/29/2020 Adobe Sign Workshop Powerpoint
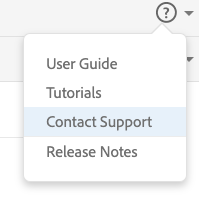
How to Contact Support
Click on the question mark icon on the top right corner of the dashboard and select Contact Support
Update 11/25/2020: Submit an ETS ticket with information about your issue and ETS will submit an Adobe Sign support ticket for you.